Ahhhh Valentine’s Day, the day of LOVE!
Some folks get a stank attitude about this day, but I’ve always LOVED Valentine’s Day! It doesn’t have to be about having a boyfriend or girlfriend or husband or wife – Valentine’s Day is about celebrating love, and those you love! There are so many different kinds of love and I think that Valentine’s Day is a great way to just remind us and the ones we care about of that!
So today I’m gonna share a quick little Valentine’s Day tablescape / party set up inspiration with y’all! Holiday set ups used to be my JAM a few years ago, but just because of life and frequent moving, I kind of got out of the habit of it. But that’s all changing this year! I mean, it’s 2020 and I’m gonna do what brings me JOY Y’ALL! And decorating for holidays and seasons brings me joy!
Here are some of my other Valentine’s Day posts from previous Valentine’s Days!
DIY Healthy Valentine’s for School – Cutie Oranges + Free Printout!
How to Host a Galentine’s Day Brunch + Recipe
the art of tablescaping
The art of creating a great tablescape is not actually as hard as it looks, and can be done pretty quickly, with minimal effort. To create a table that will give your guests major Valentine’s Day inspiration you just need to follow these 3 Steps!
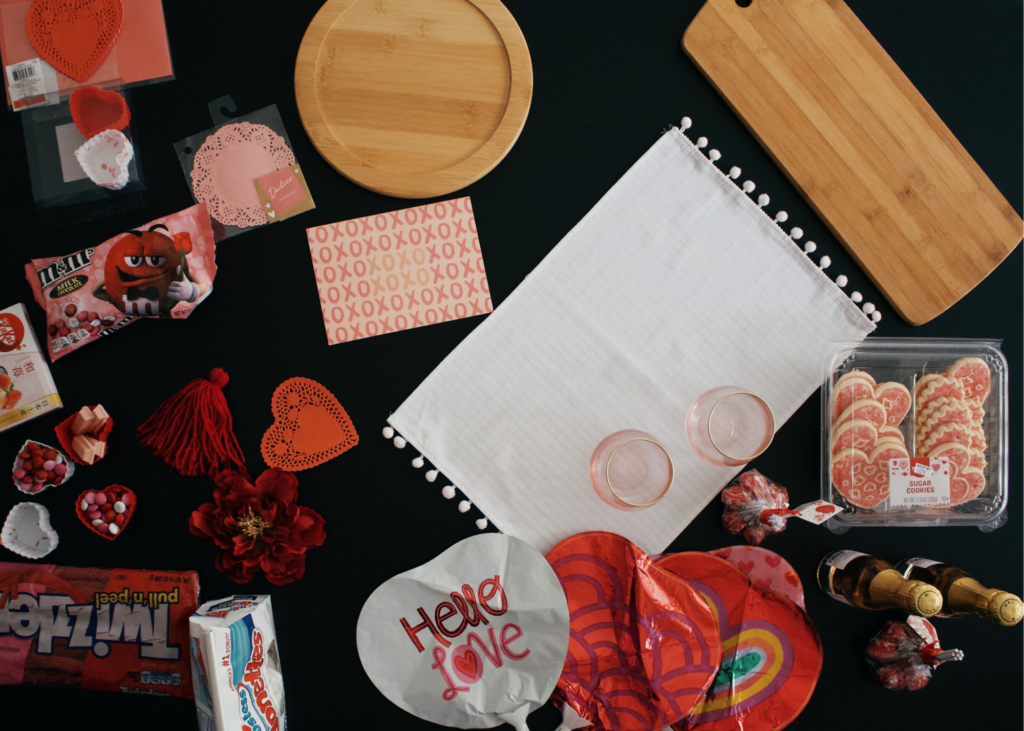
step 1 : gather all of your items
This is always, ALWAYS how I start setting up a great scene on my table or area for an event, party or photo. I gather anything, and everything that I think I may need. It’s better to have too much, than not enough! I start by picking a theme, and coordinating colors, as well as a metallic or material I want, to keep the set up cohesive. (You can also do the “purposely mismatched, but still matches” by only picking a metallic or material that will be used through the entire scape, like mix matched patterns, but all the plates, stands and bowls are made of bamboo, or white ceramic.)
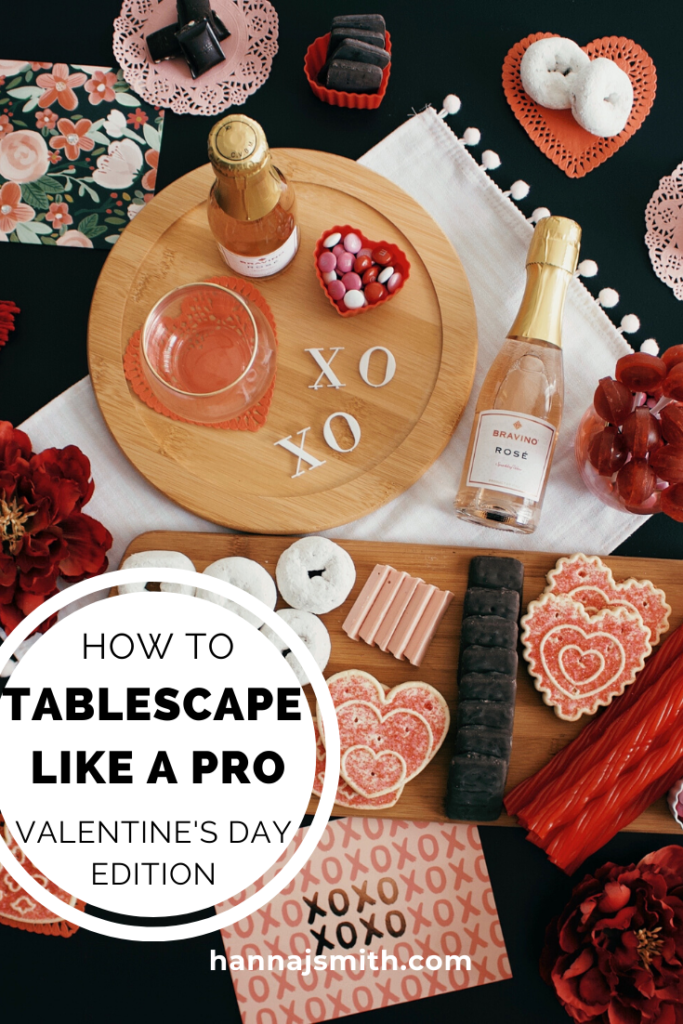
For this scape I wanted to use a natural element to the otherwise cutesy set up, so I opted for a bamboo cutting board and plate. I also gathered all the pink, red, white & chocolate treats I had, plus all the pink and red tidbits I had in my props bin, and that were scattered about the house. (I’ve even taken photos or props off the wall/mantle/shelves before, so don’t limit yourself to “what I got for the party” take a look around you and use some of the items you have sitting around!)
step 2 : start from the bottom
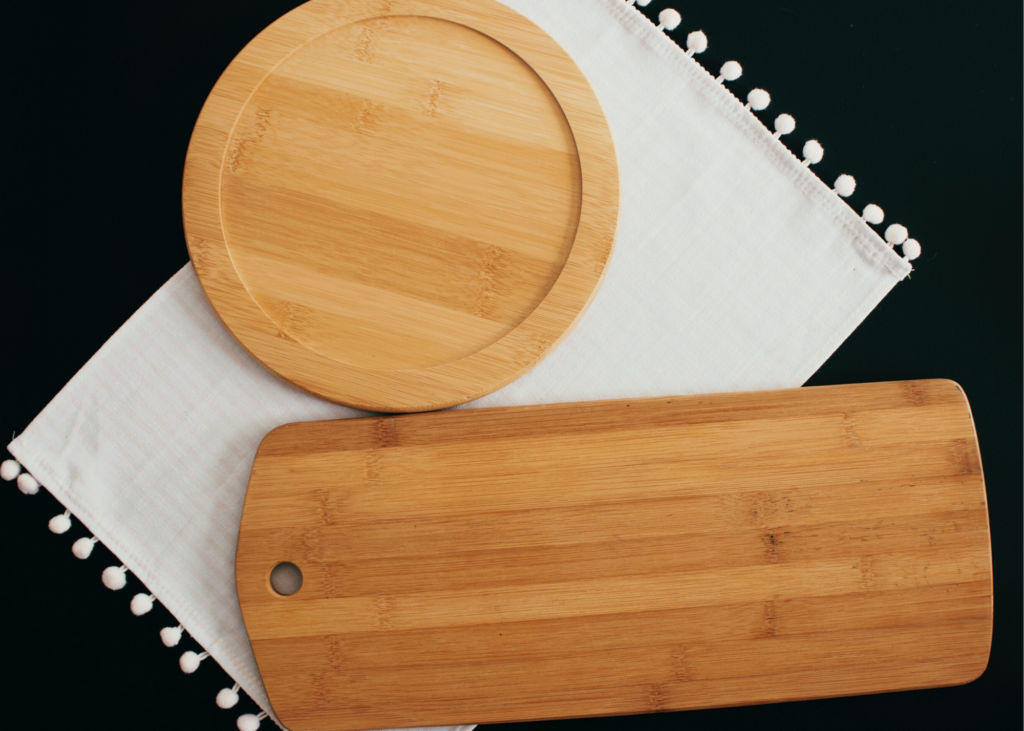
I know that seems obvious, but seriously. If you’re putting a table cloth down do that, then add your food fixtures. Things like trays, cake stands, punch bowls and place mats. In the picture below I took time layering my placemat, plate and cutting board exactly where I wanted them. I prefer to set the dishes out where I want them BEFORE putting the food on them to make sure they are exactly where I want, and avoid having to move trays loaded with food and spilling stuff. (Another tip is to not just set everything in straight lines, angle your square trays to look like a diamond, break up rectangular and square dishes with circular ones or bowls. Keeping the trays empty makes this quick and easy to do until you find just the right spot for everything!)
step 3 : add food, THEN props, decor & flowers
Food is going to take up the most space, and needs to be easy to reach, so it only makes sense to lay your food out before decorations. The issue I think people have when setting up a table scape is laying out their decor or a floral arrangement that they REALLY want to use, first. Trust me, you’ll find space for those things, and if you need to adjust a thing or two, that’s fine, but putting out your food first ensures that 1. all your food will have it’s place, and 2. that it’s actually functional. Second set out your larger pieces of decor, and floral arrangements if you have any. THEN fill in the empty spaces that are leftover with your smaller pieces. And if you don’t have smaller pieces, but feel like there are areas that look bare, try trimming a few flowers, adding a small sauce bowl filled with extra snacks or a small candle.
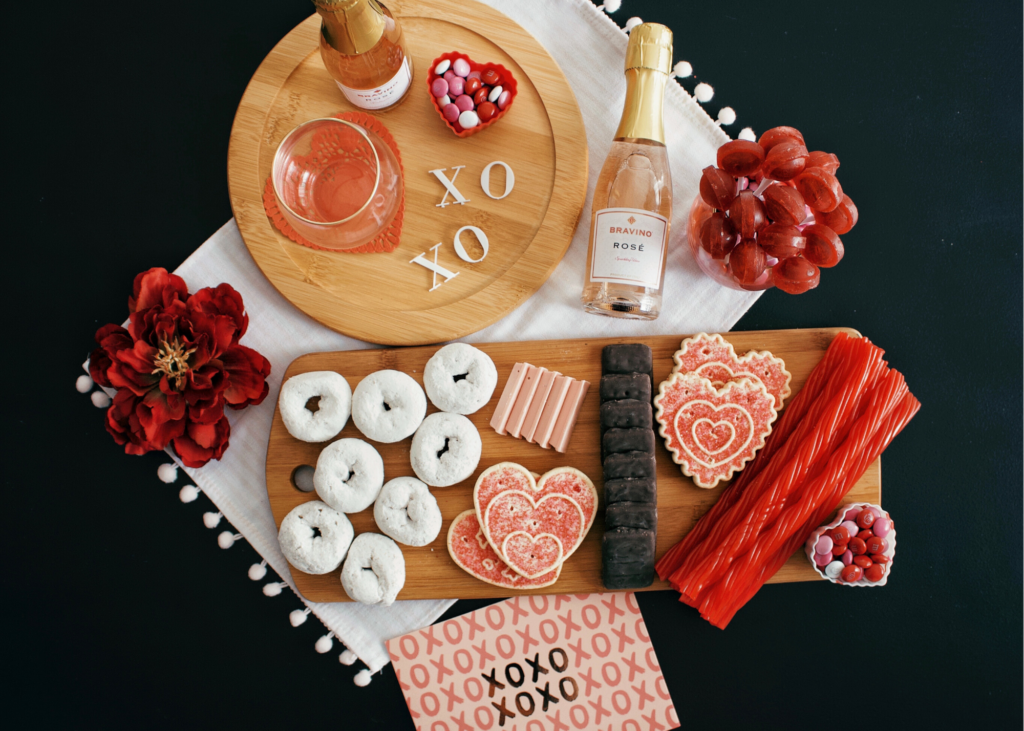
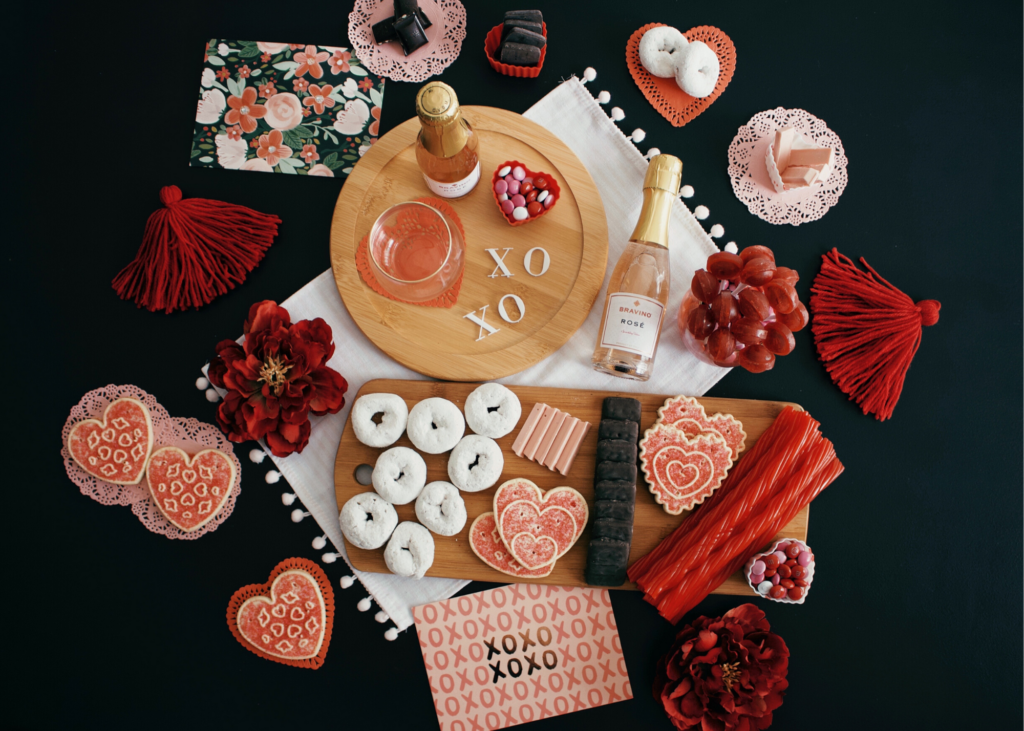
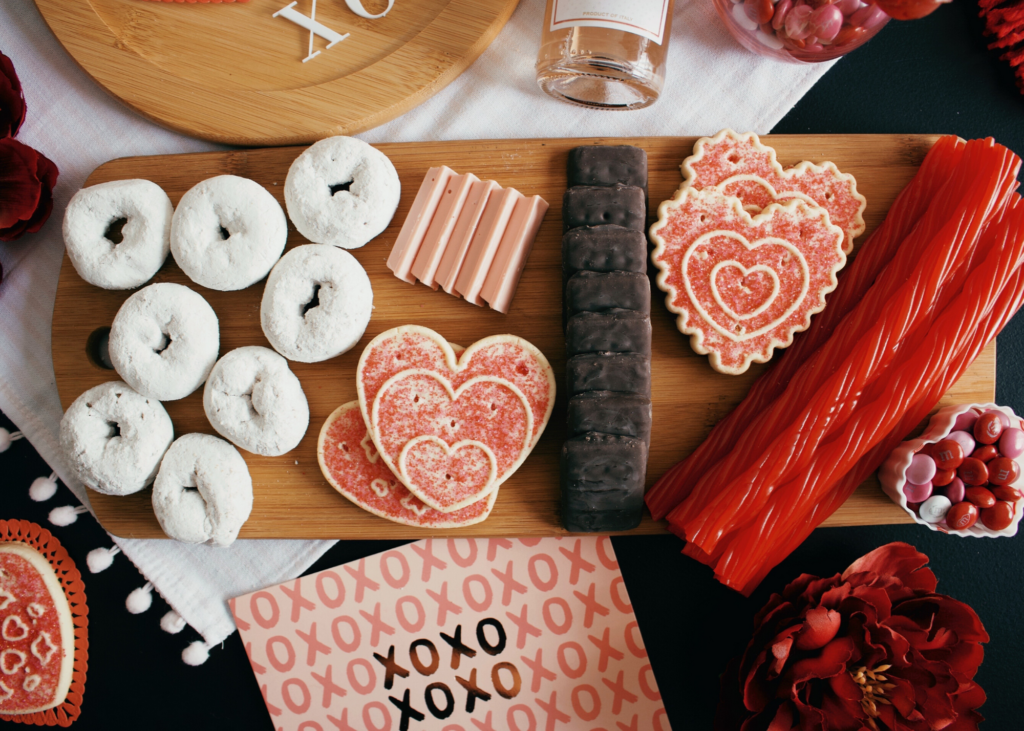
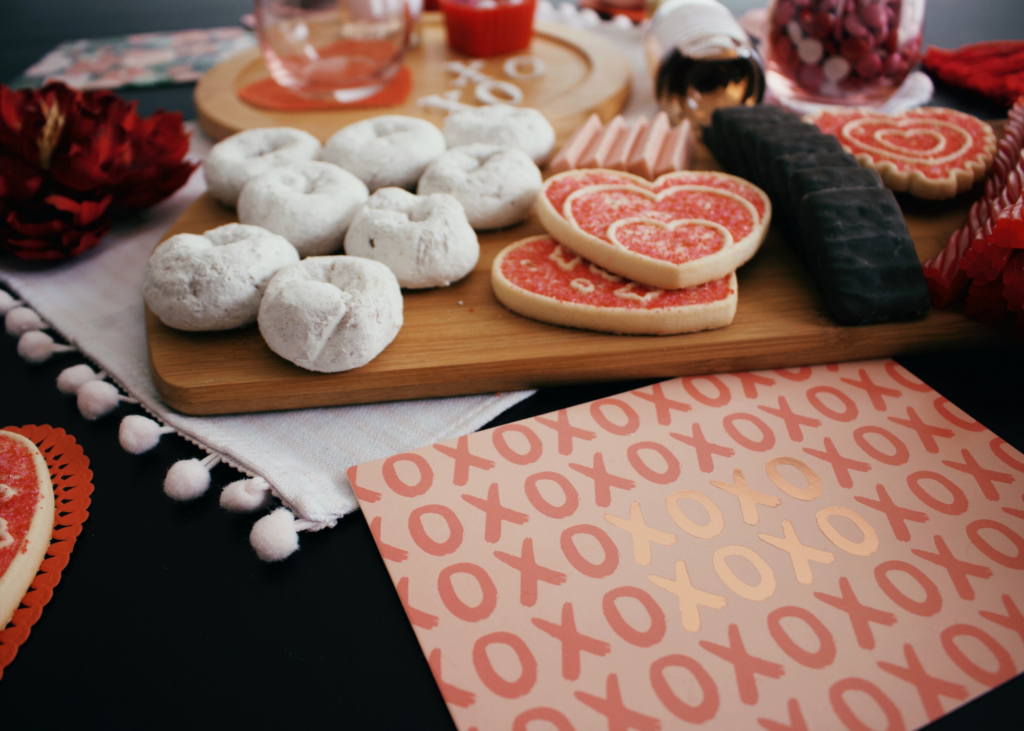
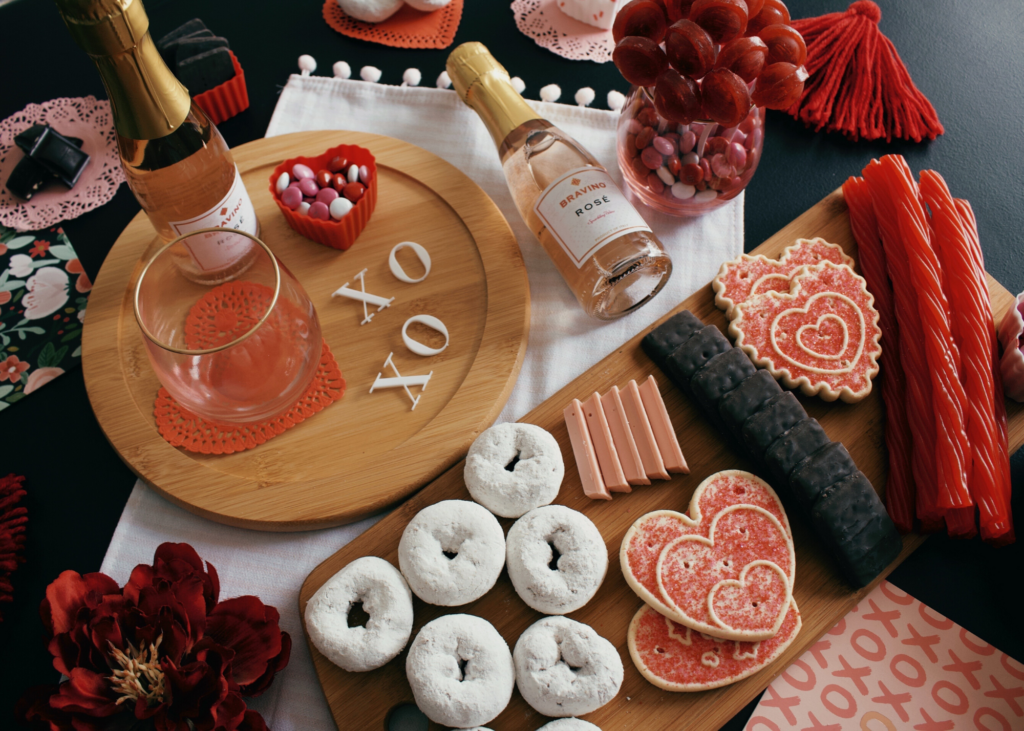
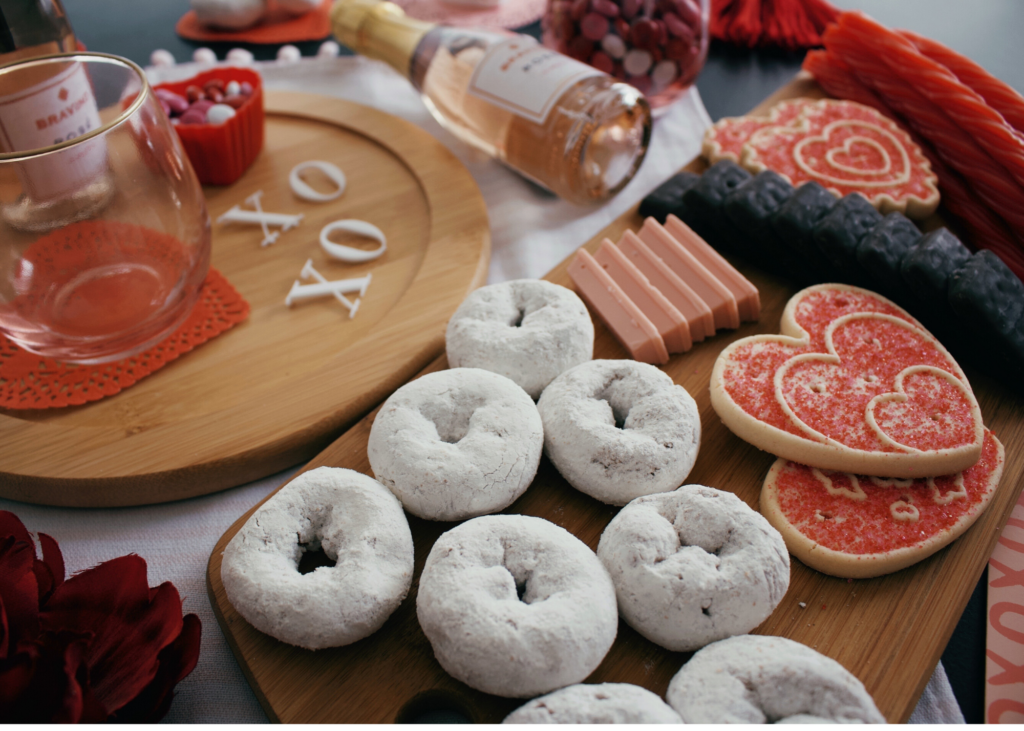
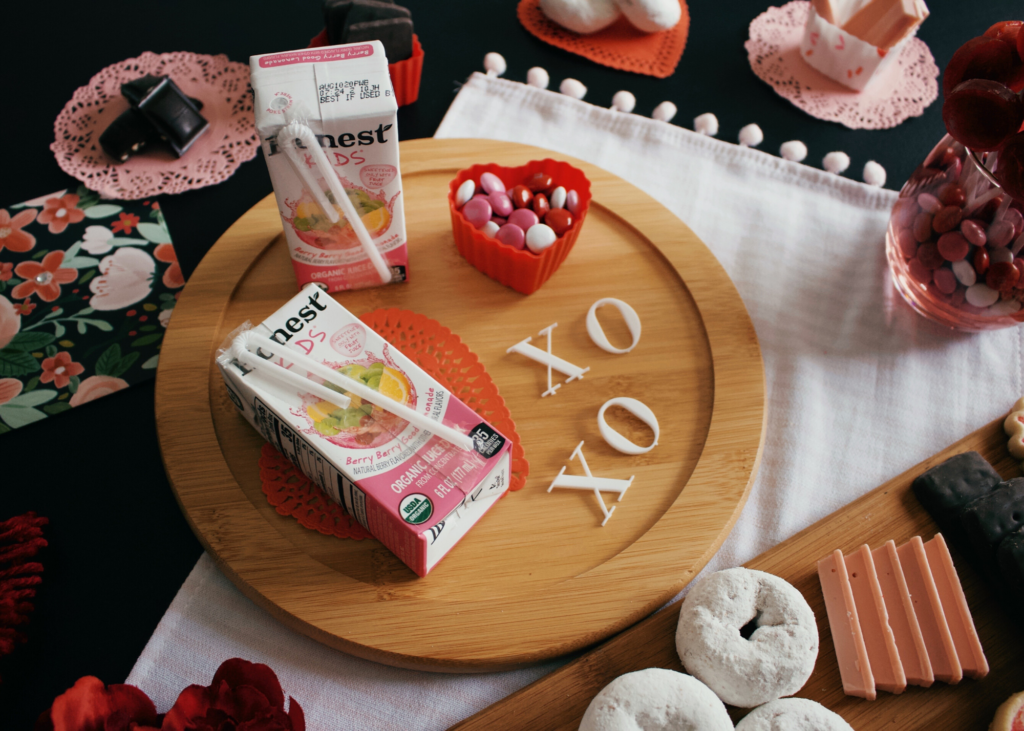
Also notice (above) how EASY it was for me to switch out the Rosé for juice boxes! You can make a tablescape for your kids, adults, or both! There are basically not boundaries, except the edges of the table!
