Hey Y’all!
Over the last few weeks I’ve been chatting a lot about revamping the kids shared bedroom on my Instagram Stories.
And the day is FINALLY here to share what I did!
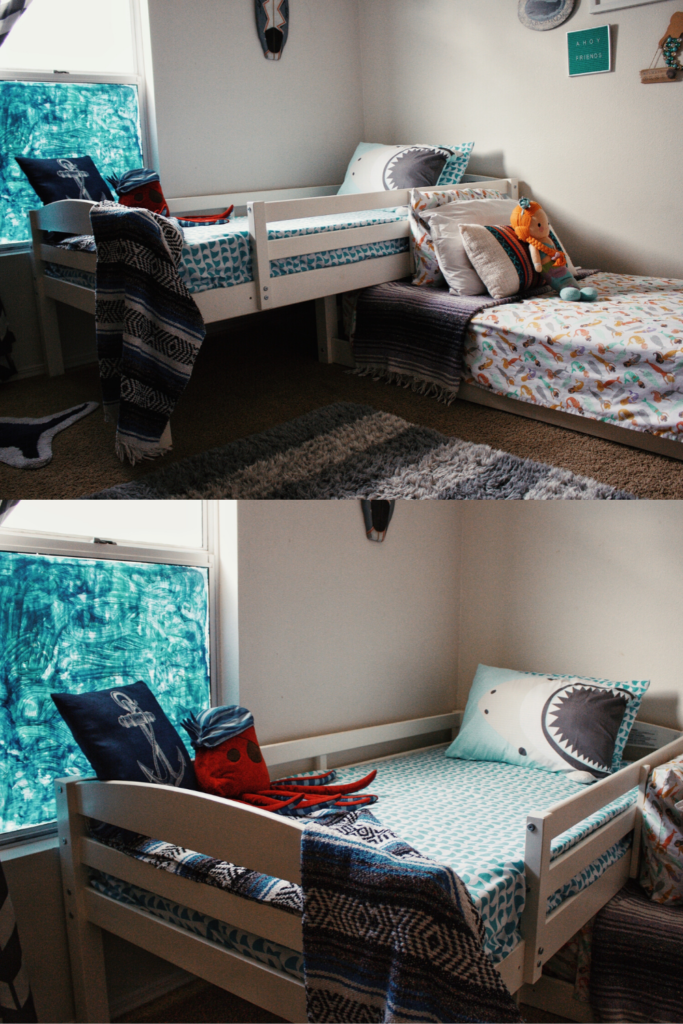
Before we get into all the details just a little background this is a shared boy and girl bedroom – my son (6) and daughter (3) share a room and have ever since my daughter was born. Eventually we will move into a home where they each have their own bedroom, but for their age, and our current situation, them sharing a room is perfect! I didn’t want to dump loads of resources or money on this project, it was more about setting their room up with intention and purpose, rather than a total redo, especially since we kept their original theme of “Sharks & Mermaids.”
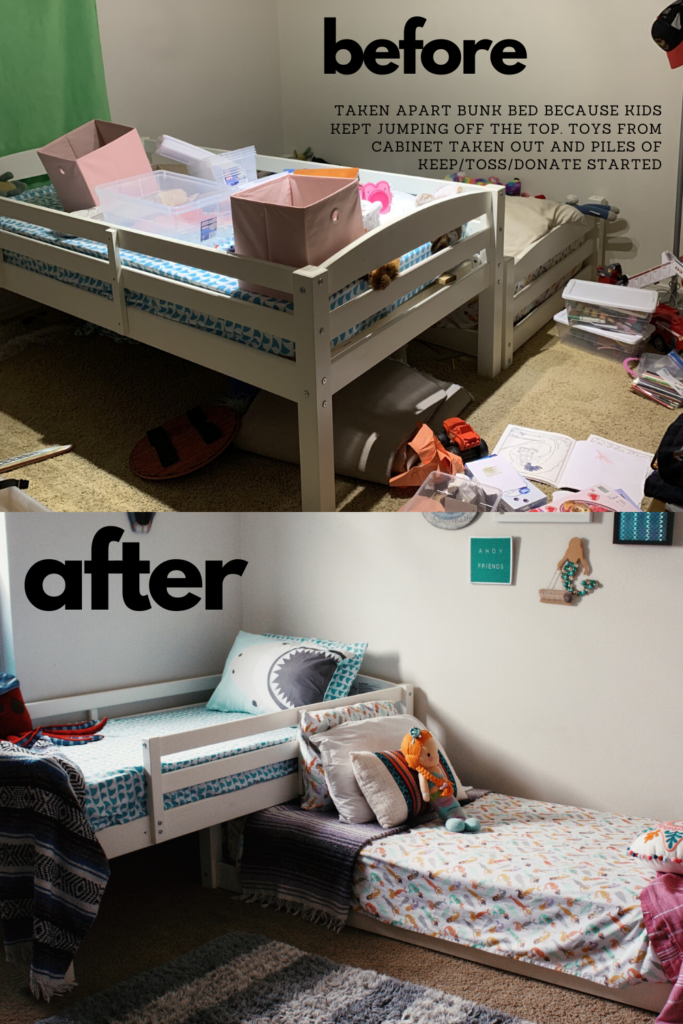
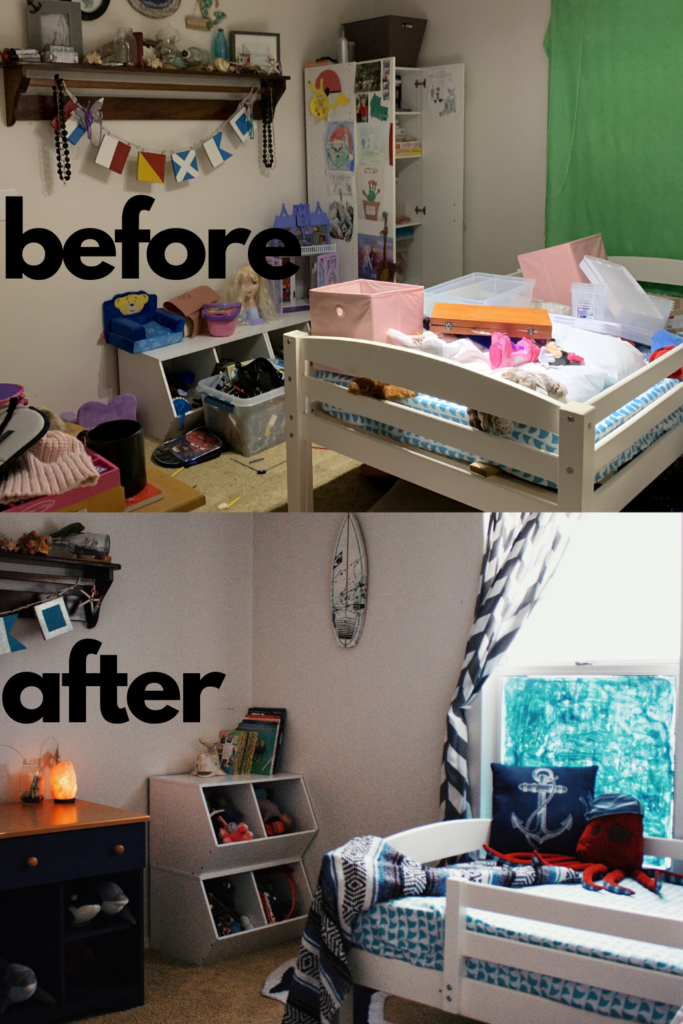
before & after
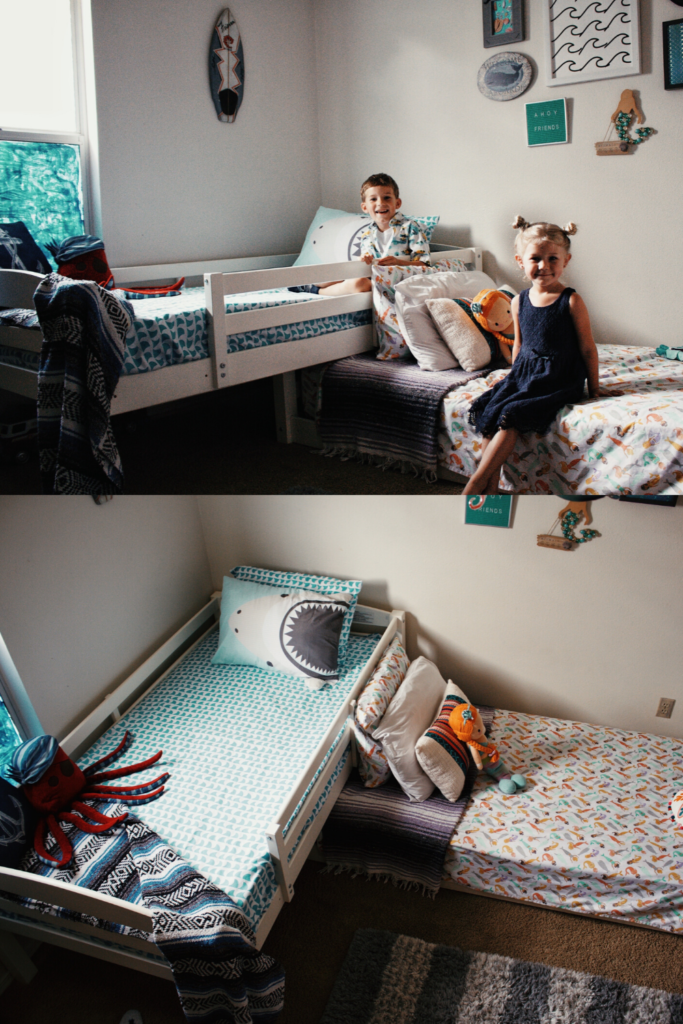
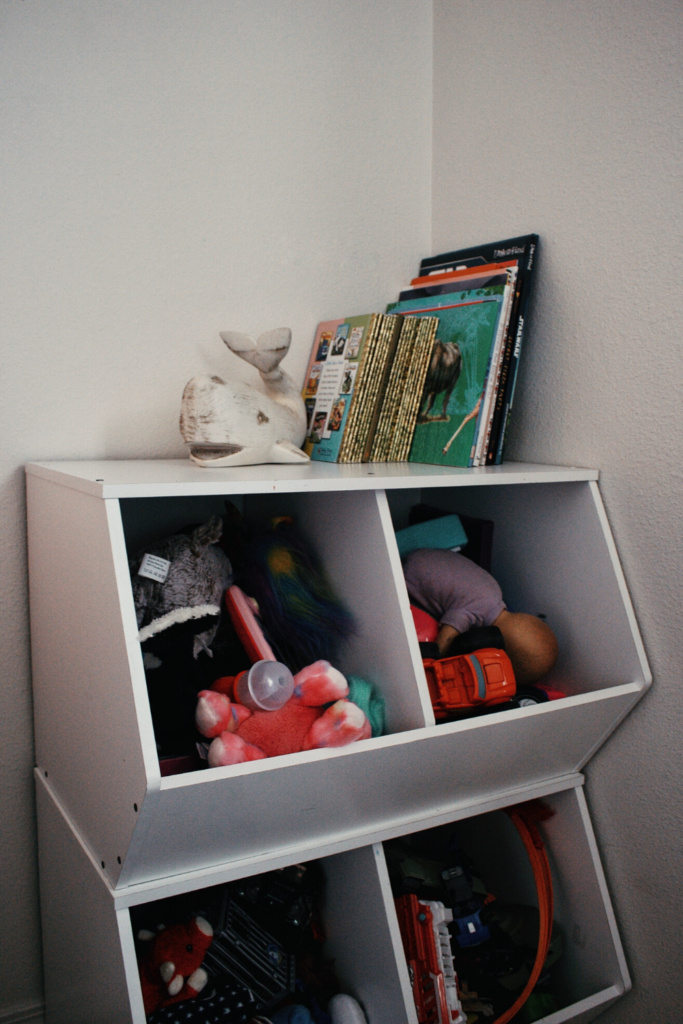
So like any good “makeover” we need a few before and afters. But of course I FORGOT to take before photos until I was already in “declutter/organize/go through everything” stage and those are pretty gnarly. I had taken apart the kids bunk bed already because they would not stop jumping off the top, I had removed the blinds and tossed a green blanket over the window and I’m one of those people who has to dump everything out, go through it, get rid of the bad stuff, clean the good stuff, and then put it back. So that’s what is happening in these “before” photos! The kids were thankfully GONE, visiting their grandmother for a week while their room was in this state, so they weren’t trying to live in such a mess.
diy decor
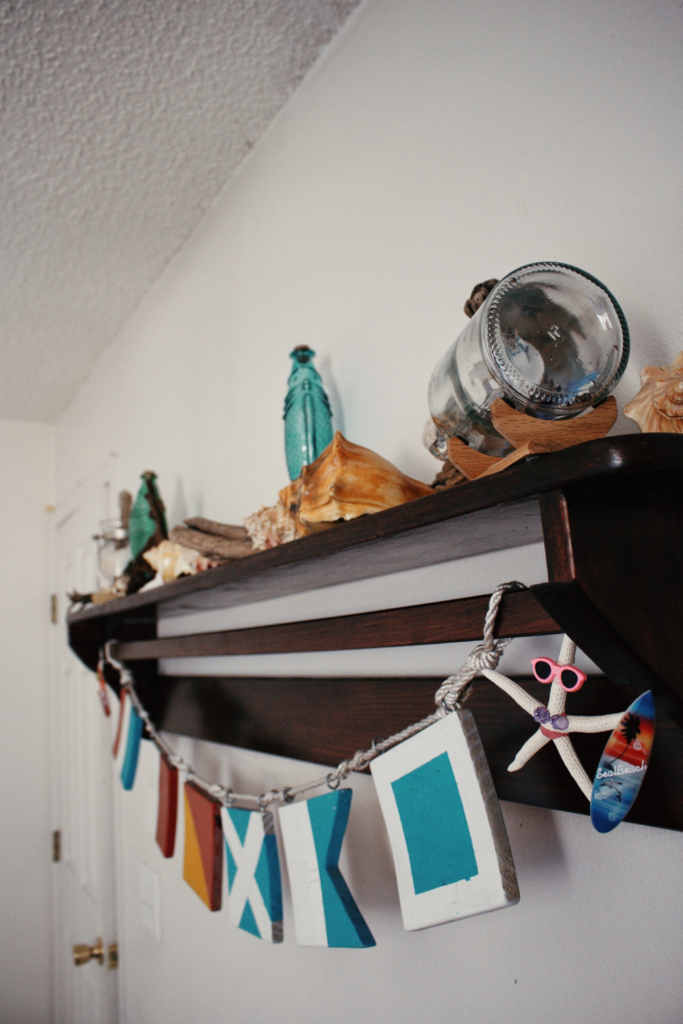
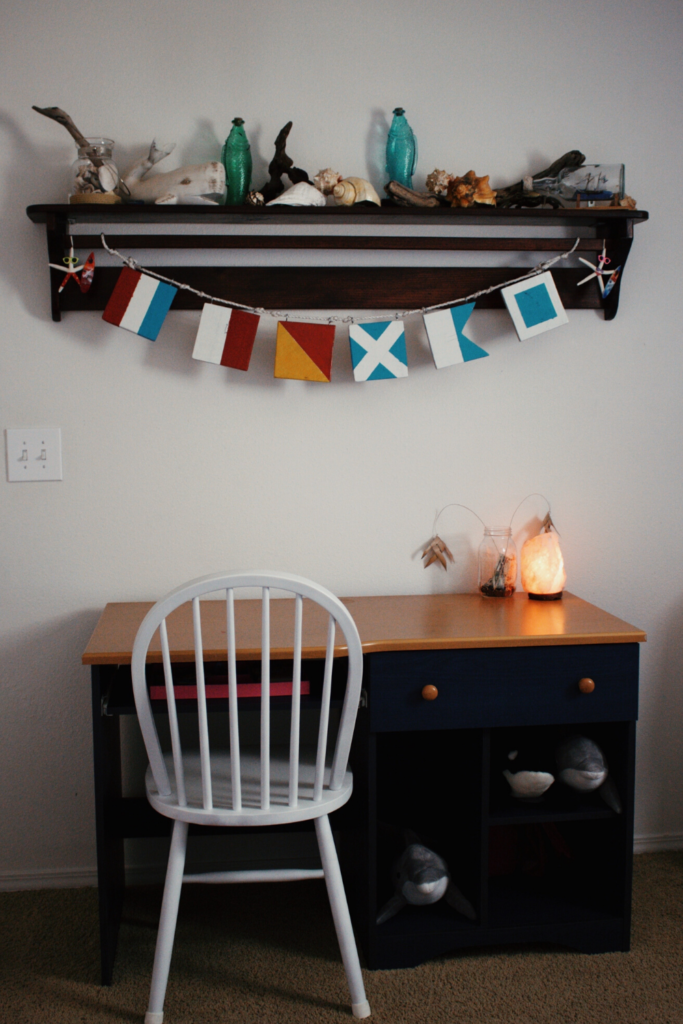
When I originally knew my kids would share a room I wanted to find a theme that they would like for a few years, and that went together. I decided on Sharks and Mermaids! Well, the kids still LOVE that theme, so it was never even an option to change it. When I knew I wanted to actually take the time to revamp it and get it “just right” I made a goal to not purchase anything and just make do with what we already had around the house. I did end up spending about $50 but even so, 95% of what you’ll see in this post we already had. All we had to do was get a little creative!
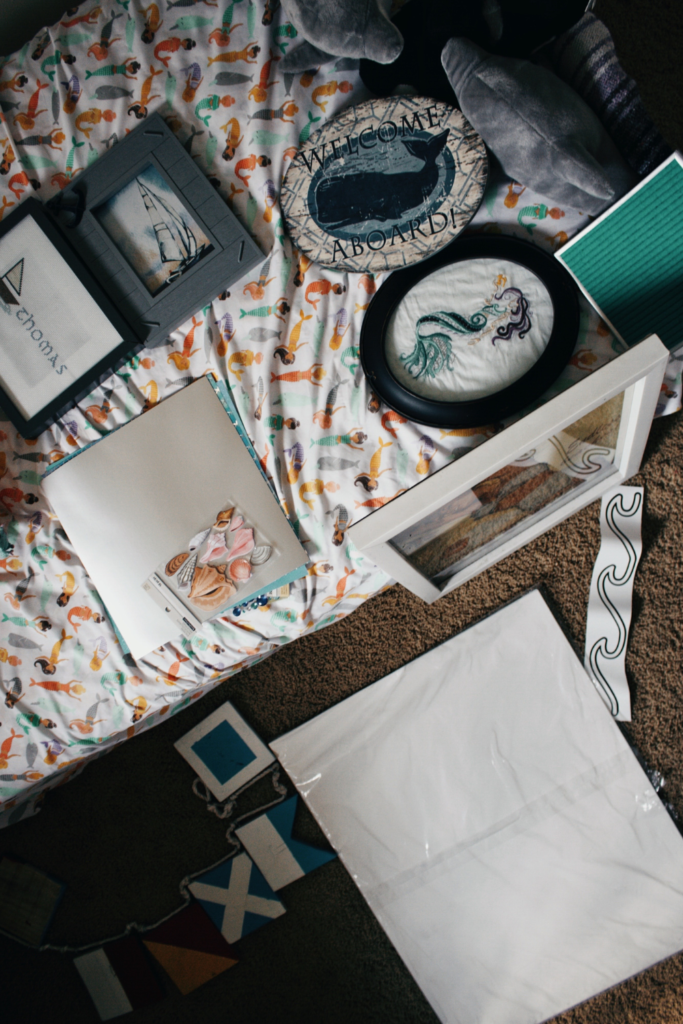
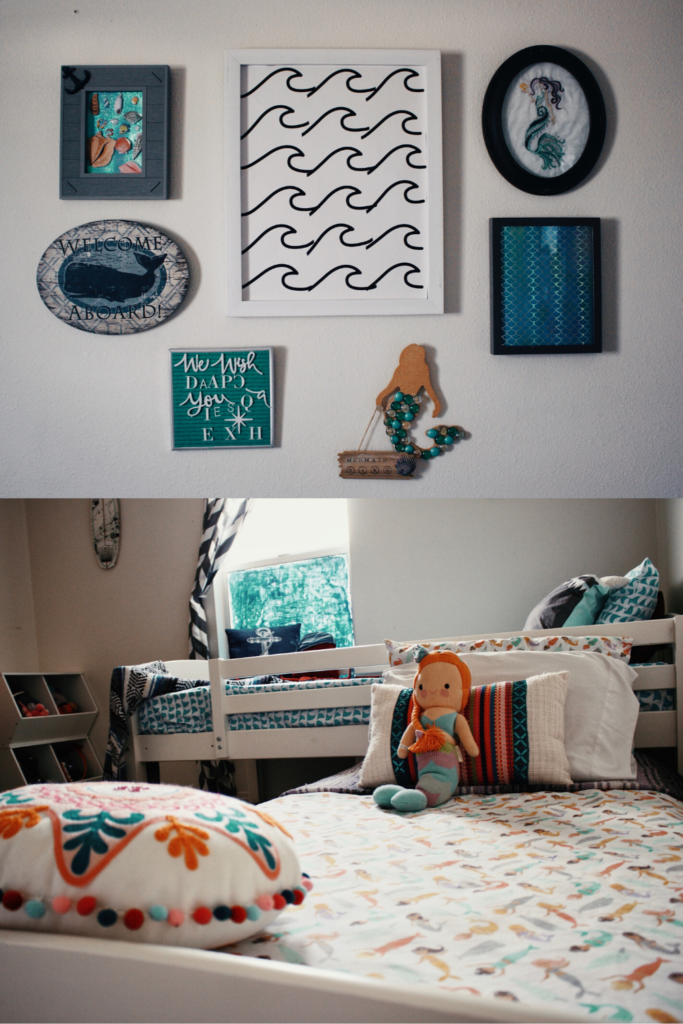
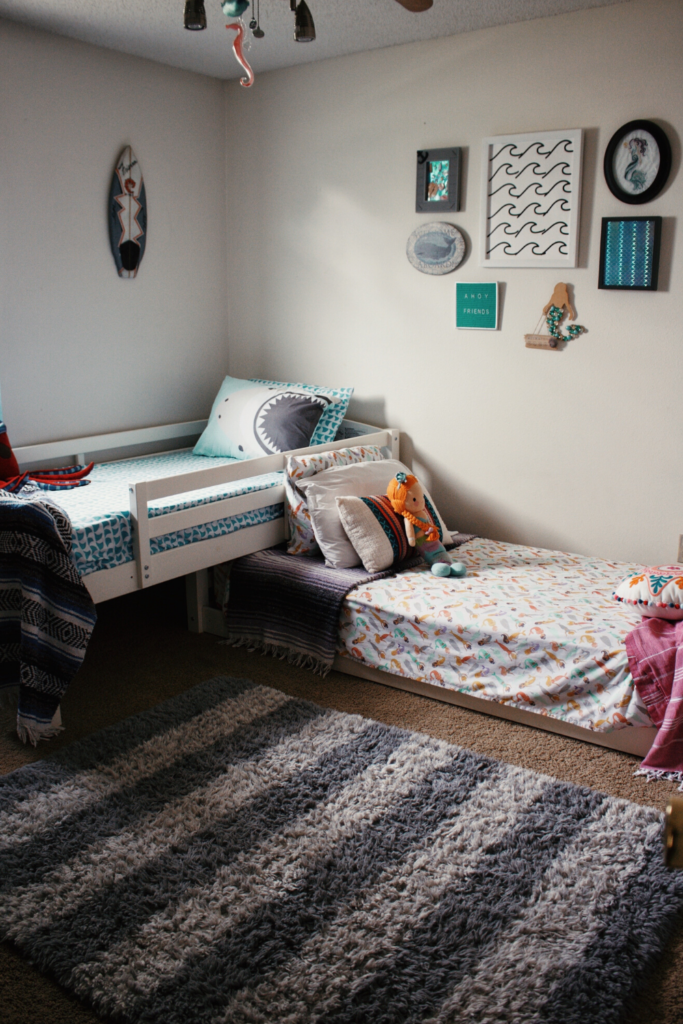
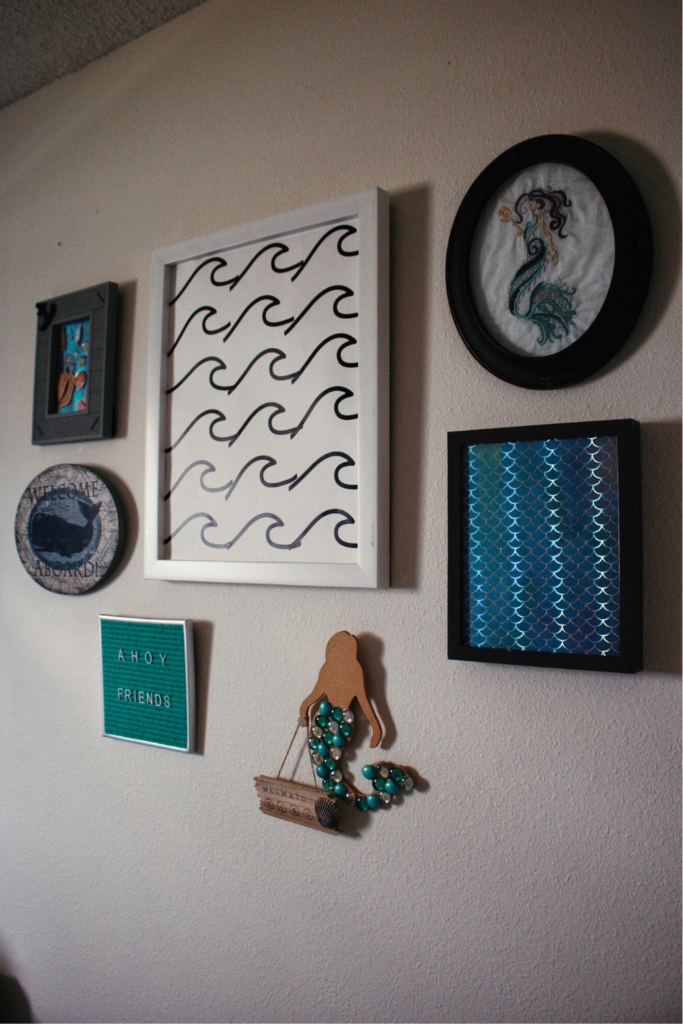
I knew I wanted to make a little gallery wall for the kids that we could potentially add to if we wanted. To make this I started with a few items I already had on a shelf in the kids room (the whale sign and the mermaid embroidered piece.) Then I checked in my “extras” box (you know, the box/pile/closet of stuff you don’t want to get rid of but don’t know what to do with) and was able to find the other frames in there, along with the little letter board (that I thought I’d lost!) I also had already purchased some mermaid, shark and underwater themed paper for another project I wanted to do, and never did – so I used those to fill some of the frames. The large center piece below was the “hardest” to do. I originally purchased wave wall decals to create a patterned accent wall in the kids room, but every. single. decal. I pulled off stretched out and would not lay flat! I must have tried 10 sheets before I realized it wasn’t going to happen. I just gave up and used the pieces on a piece of poster board that I popped into a frame, rather than throwing them away.
purchased
The only two things I purchased for the kids room was a clear and fogged window treatment – I don’t like feeling like people can just look right into the window and see what’s going on. And the wave patterned wall decals that didn’t end up working, which I mentioned up above. Neither are worth linking as you can get the window treatment at any home improvement store, walmart and target.
rearranging & space
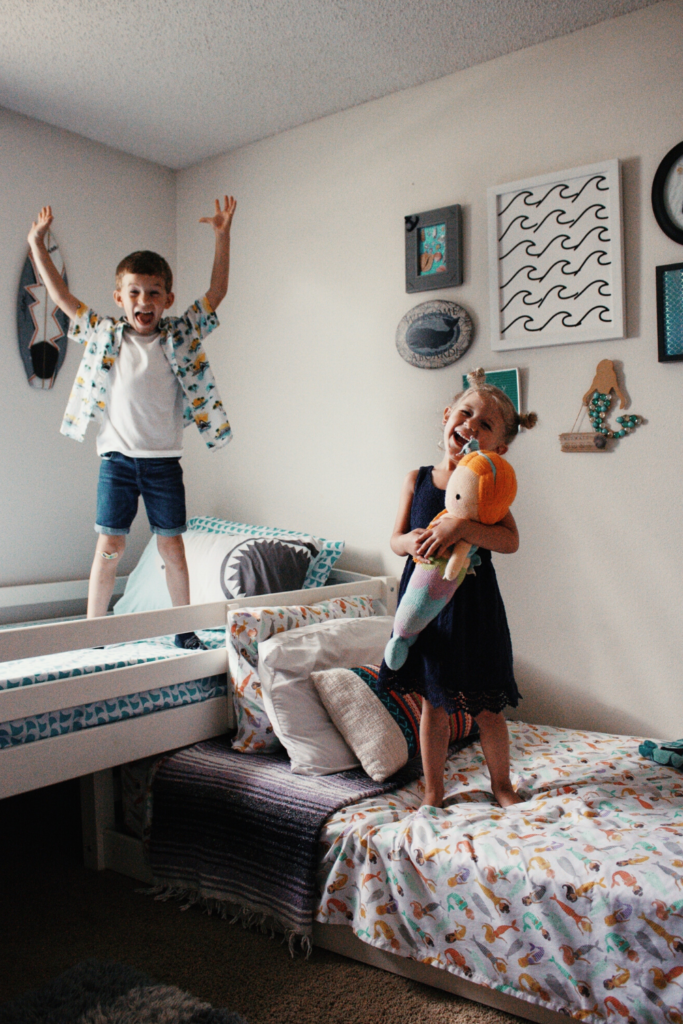
This was the biggest part aside from the deep cleaning and organizing (which I’ll detail in another blog sometime.) Most bedrooms are designed for one bed, not two! The kids originally had a bunk bed, but kept jumping and pushing each other off the top, so I took it apart. Figuring out how to fit both pieces of the bed into the room, without it looking like “oh hey, you took that bunk bed apart” was hard. I rearranged the beds probably 6 or 7 times before finally remembering that my mom suggested tucking the bottom one under the top bunk piece like this! I really like this set up because it creates so much space for the kids to play, while still letting them feel the closeness they are use to feeling, rather than two beds across the room from each other.
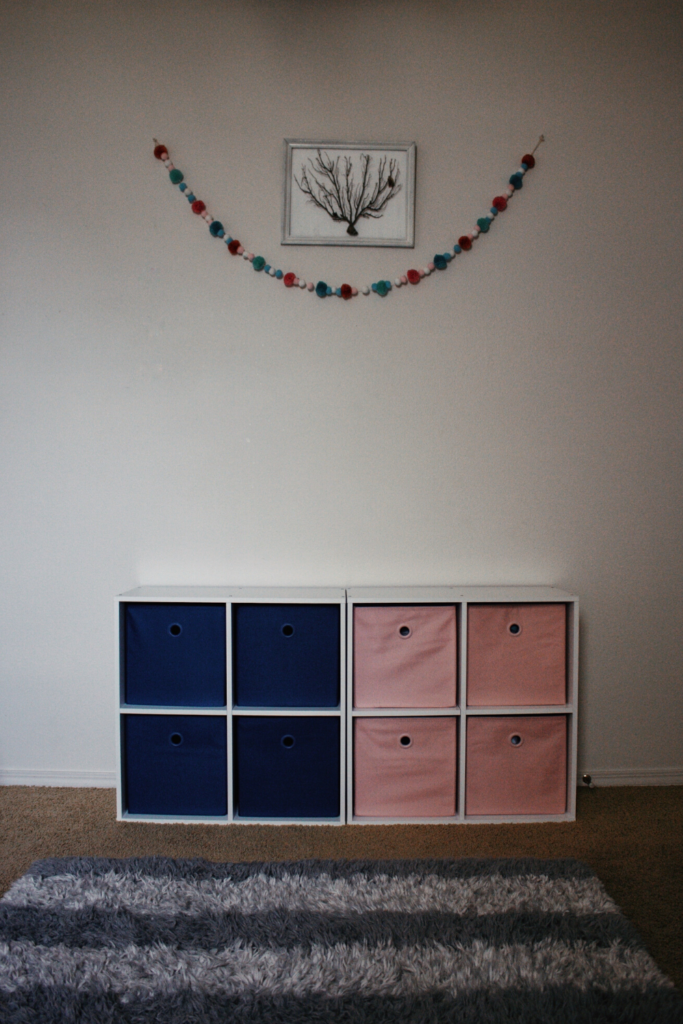
Another way I created more space in the room was by moving the large white book case into the closet. By moving that I did a few things, 1. created way more space in the bedroom, 2. minimized the amount of toys the kids have easy access to. I separated all their smaller toys into plastic bins with lids and put them in the cabinet, in the closet, it has sort of an “out of sight, out of mind” effect, keeping their room cleaner in general, without actually getting rid of those toys and activities. I’ve already noticed a HUGE difference in how clean their room stays, think smarter not harder, my friends!
I hope you enjoyed seeing this shared kids room revamp as much as I enjoyed doing it!
