Hello Beautiful Baby Wearing Professionals and Novices Alike!
I was originally introduced to Baby Wearing in 2013 when I was given a sling by a family member, and I was HOOKED from the very start. As my first child started to grow he outgrew the particular sling we had and I purchased a front carrier off the sale rack at a big box store. MISTAKE. I hated it.
Fast forward to 2016 and I was pregnant with our second child and was determined to find a way to baby wear that I loved.
Enter the Moby!
A fellow baby wearing friend gave me my very first Moby Wrap as a baby shower gift, and I fell in love with it the very first time I wrapped our little peanut in it!
We’ve even climbed a MOUNTAIN while baby wearing!
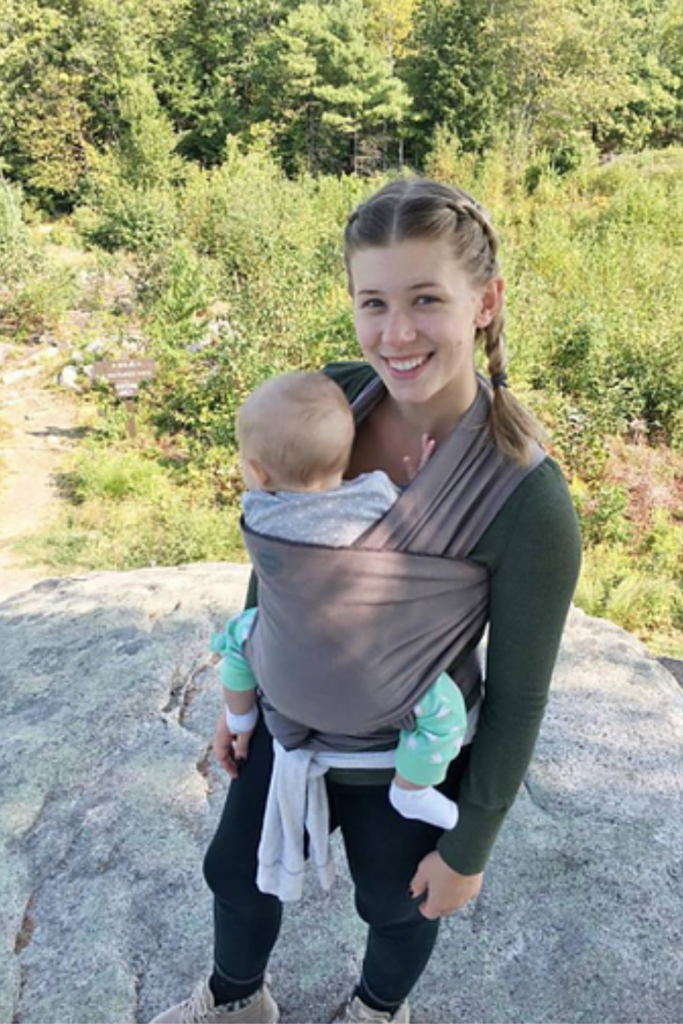
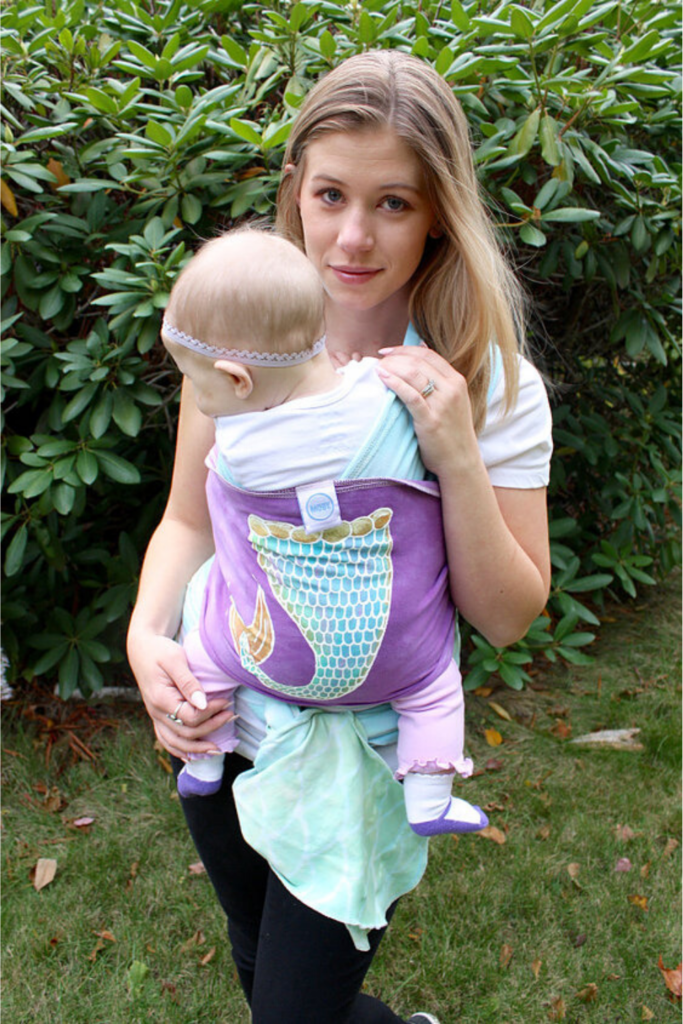
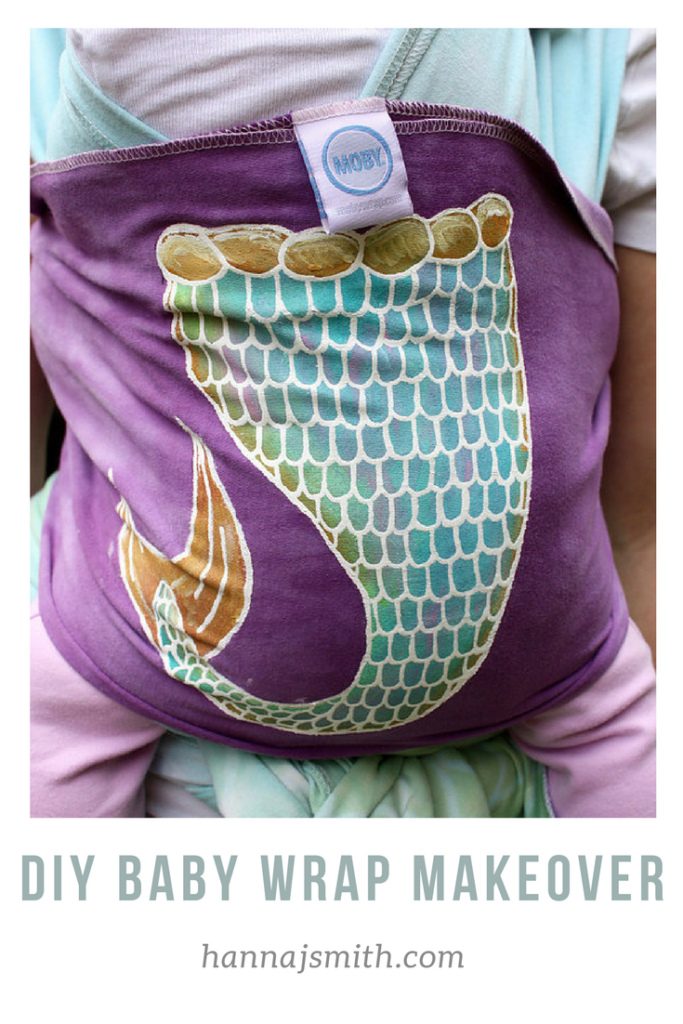
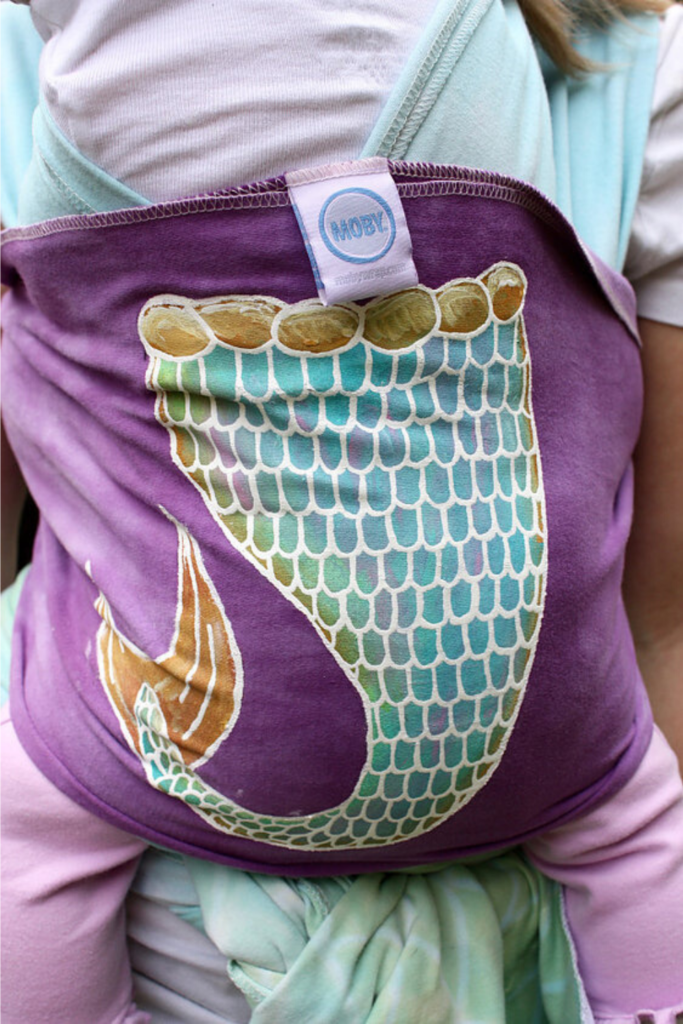
It didn’t take long for the Crazy Crafting Lady in me to start thinking of ways I could customize my wrap, and since Harper’s nursery is Mermaid themed, I figured I’d do a Mermaid themed wrap!
Instructions for Tie Dye and Stenciling :
Step 1: Prep Your Wrap. Wash and dry according to instructions.
Step 2: While your wrap is washing and drying go ahead and make/print/purchase a stencil for whatever pattern you want if you are doing one.
Step 3: Once your wrap is dry lay it out flat and lay your stencil on top, tracing around the stencil with your Elmer’s School Glue. Don’t worry about messing up because if you do you can just wash the glue out and start over!

Step 4: Leave your wrap flat until the glue is COMPLETELY dry.
Step 5: Prep your Dye. Mix dye in buckets according to instructions on the packaging.
Step 6: I worked my way from the middle outward. But traditionally you would start with your lightest color first. Honestly it’s up to you, one thing I love about tie-dye is that it’s pretty much impossible to mess up! So after I finished with purple I went on to my blue and green.

*Dyeing Tip: For a textured look unwrap and re-tie your wrap each time you dip it into the dye. For a more even, solid color make sure fabric is evenly dipped and not folded.

Step 7: This is the HARDEST part! Wrap your wrap in a plastic bag (I wrapped one around my purple part leaving the rest to hang out of that bag, then put the entire thing into another bag) and let sit for 24 HOURS!
Step 8: Once 24 long hours have passed you need to rinse the extra dye from your wrap. You can either rinse your wrap in the sink until the water runs clear, or set your washer to the rinse cycle and wash it that way (which is what I did.) Then you can either let it air dry or toss it in the dryer with an old towel and set it to Tumble Low (which is what I did.)
Step 9: Optional. Paint! I free handed this stencil. But I’m sure a quick google search of “mermaid-tail stencil” will pull up one if you’d rather do that. Once you’re done painting let your wrap dry completely!

*Paint Tip: Paint your entire area White before adding any color. This will make the colors brighter and prevent any color changing due to a colored background.
*Paint Tip: Let each layer of paint dry completely before adding the next layer.
*Paint Tip: You can use Fabric Paint or Acrylic Paint for this. I prefer Acrylic because it is less expensive, comes in more colors and can be used for more than one project!
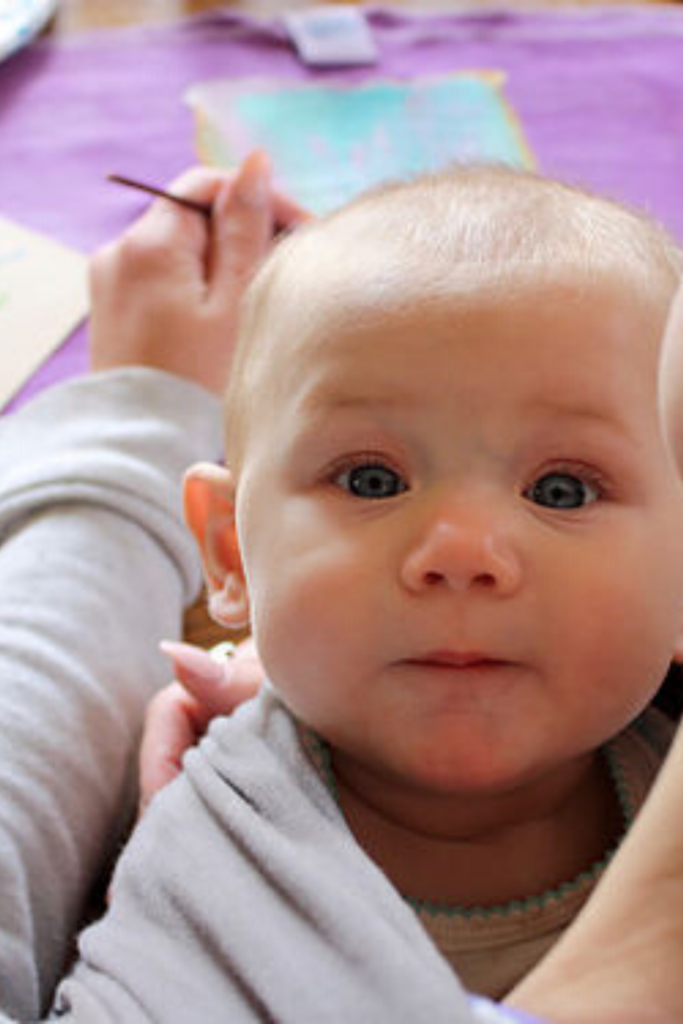
Step 10: Wrap that baby up and show off your new Baby Wrap!
This process can be duplicated using any colors or patterns! The possibilities are endless!
