Happy Halloween Month Y’all!
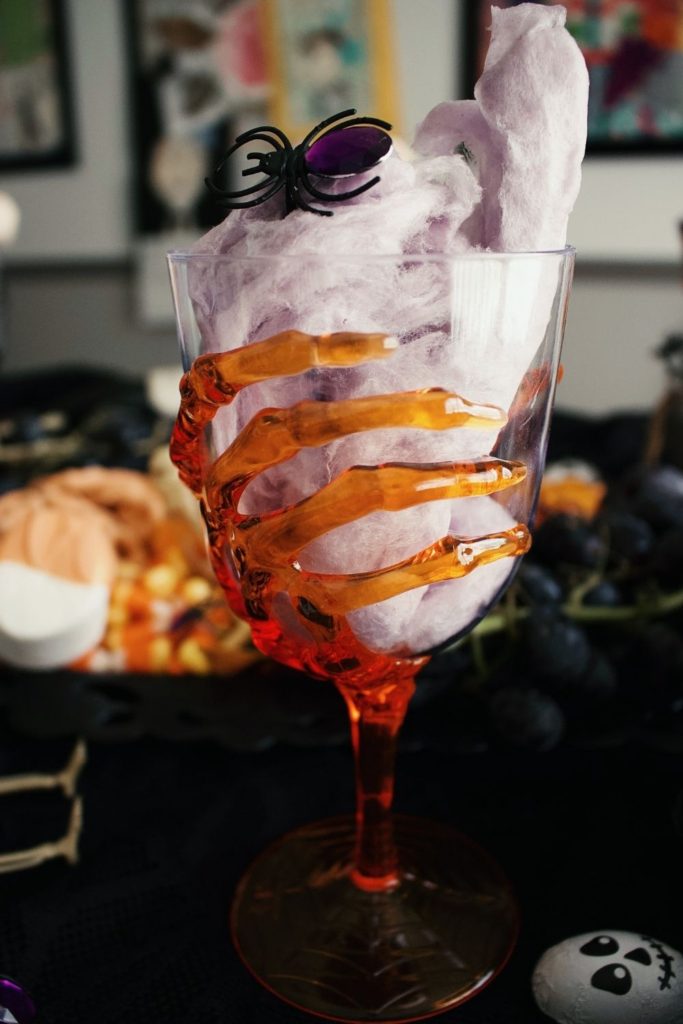
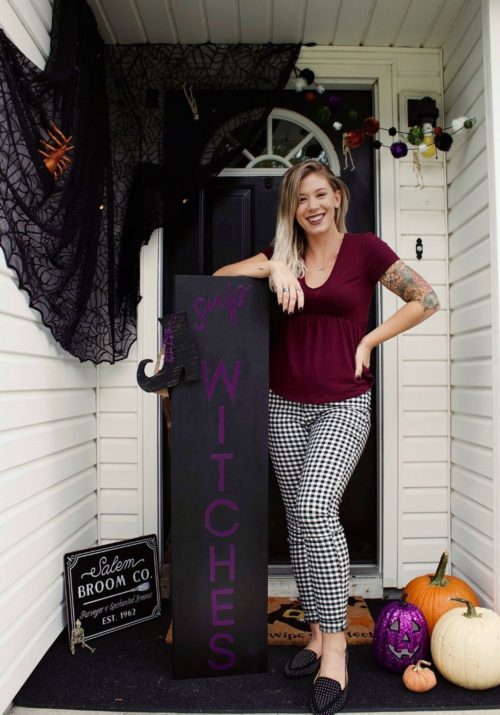
Last year I did pretty much nothing to celebrate other than get store bought costumes for my kids like two days before Halloween, but this year I’ve been on the ball and we are totally ready for All Hallows’ Eve! If you didn’t see our outdoor decor this year you can check that out HERE! We will be having a fun and spooooky dinner the night of Halloween, but to get the kids in the Spooky Spirit I made this yummy, and super easy snack board for them to enjoy while they wait for Halloween!
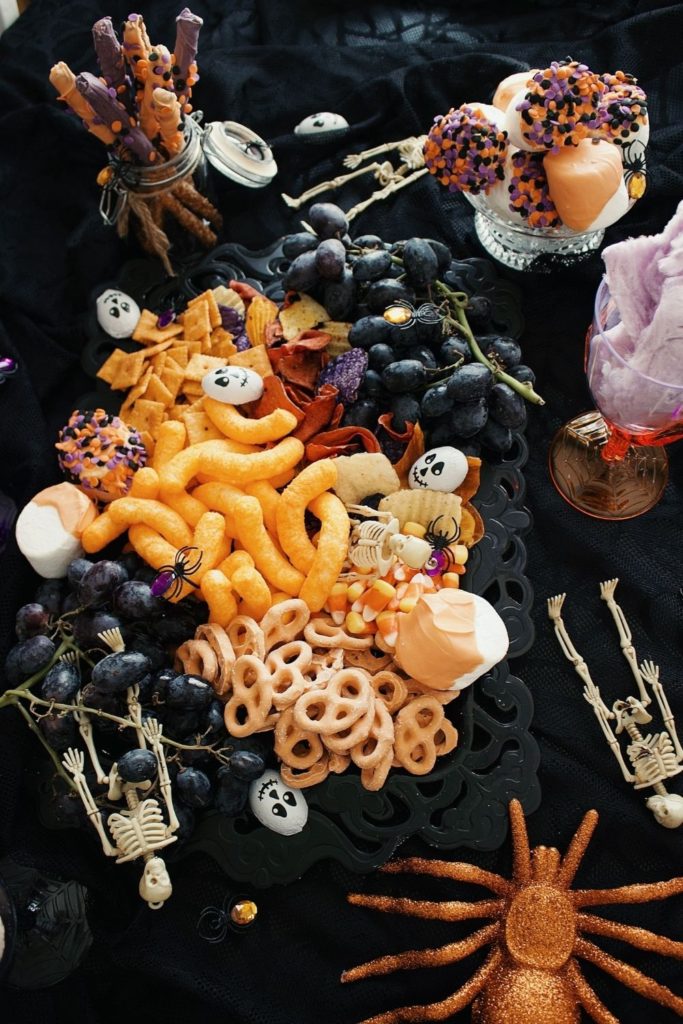
halloween snack tray
For this snack tray, I got all the decorations either at Walmart or Dollar Tree and all the food at Walmart or Publix. I wanted to stick to a color scheme of Orange, Purple and Black. Picking a color pallet and sticking to it is one of my biggest suggestions when it comes to creating a themed or Holiday board/tray.
diy snacks – QUICK & EASY!
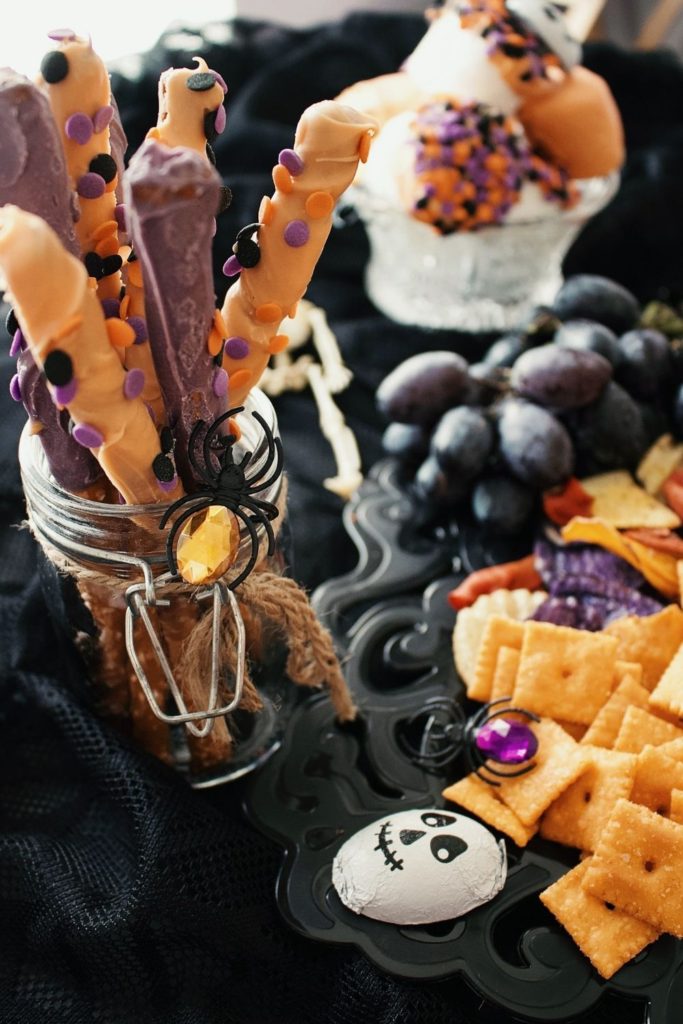
Before I continue, I wanted to share the almond bark dipped sweet treats that we made for ours! They are VERY easy to make and just require a few bowls, a cooling plate or tray and a microwave. They are also pretty customizable and can be done in any color and on tons of different snacks really!
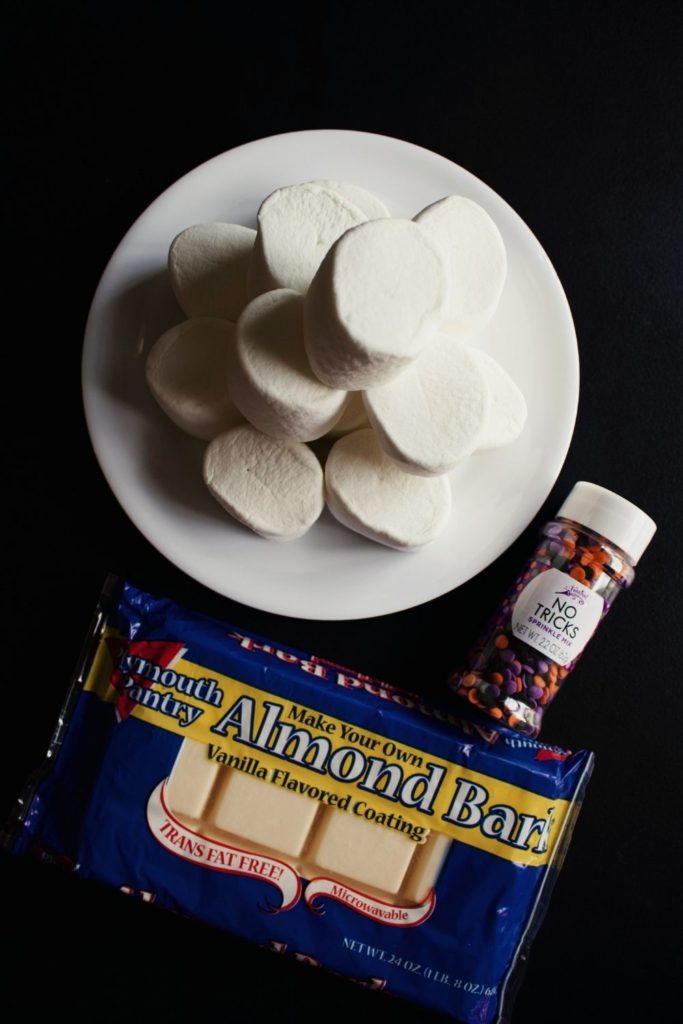
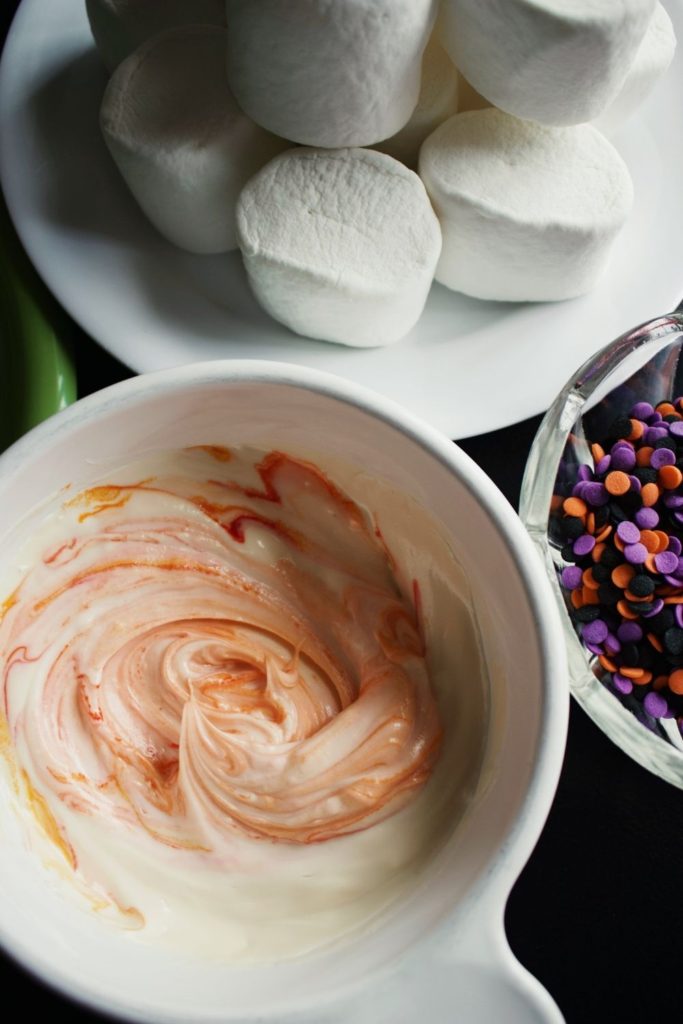
So, all you need is a package of white almond bark, a microwave safe bowl, food coloring (to match your theme), whatever snacks you plan on covering in almond bark and a cooling tray/plate, sprinkles are always a plus, but optional! We dipped marshmallows and pretzel rods. Some other great ones are Ritz crackers, peanut butter filled cracker sandwiches, granola bars, apple slice, the list could just go on and on really!
All you have to do to make these is pop the almond bark into the microwave (in a microwave safe bowl) until smooth. Add food coloring. Then dip your snacks in, or use a spoon to drizzle the melted candy over your snacks. If you’re using sprinkles immediately apply them as soon as you’re done applying the melted candy to your snacks, while it’s still wet, so the sprinkles stick. Then lay them on a tray or plate to harden. Here’s how ours turned out!
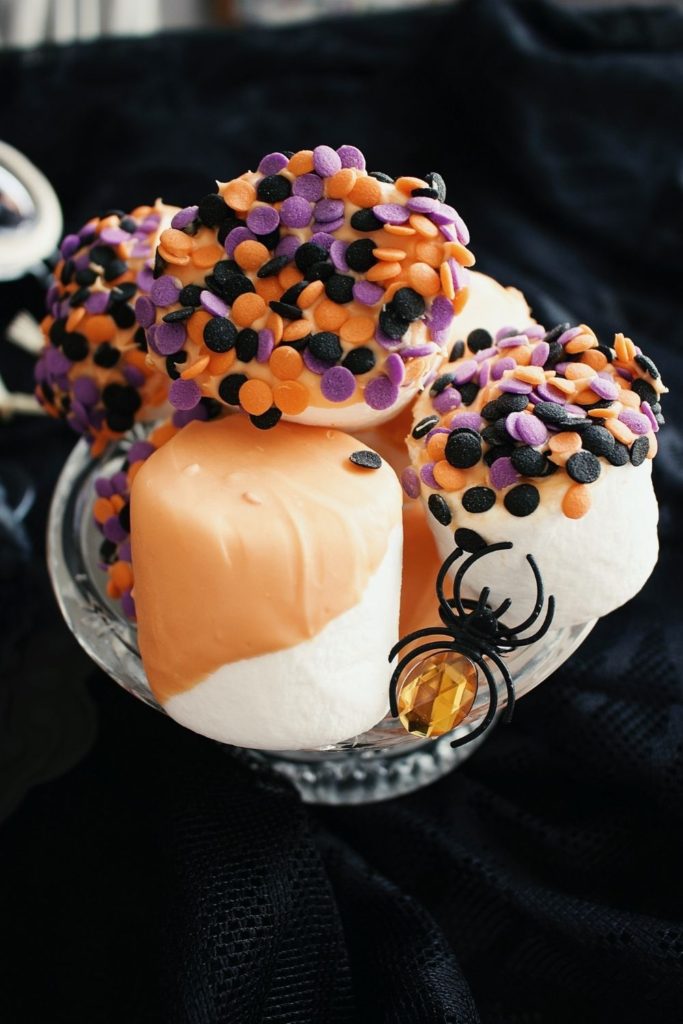
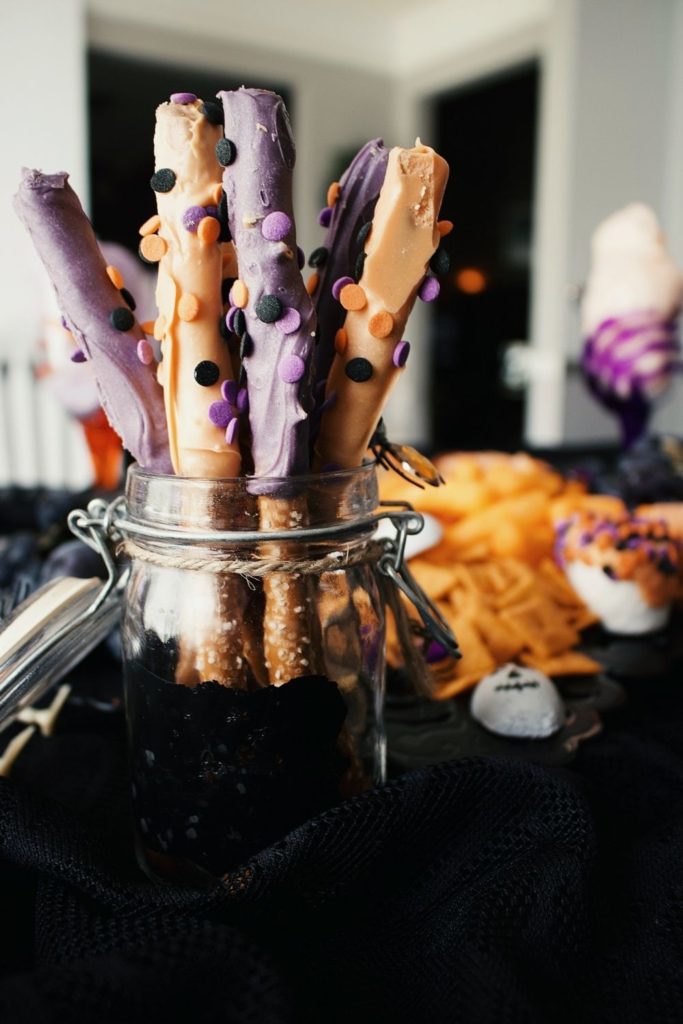
setting up your board
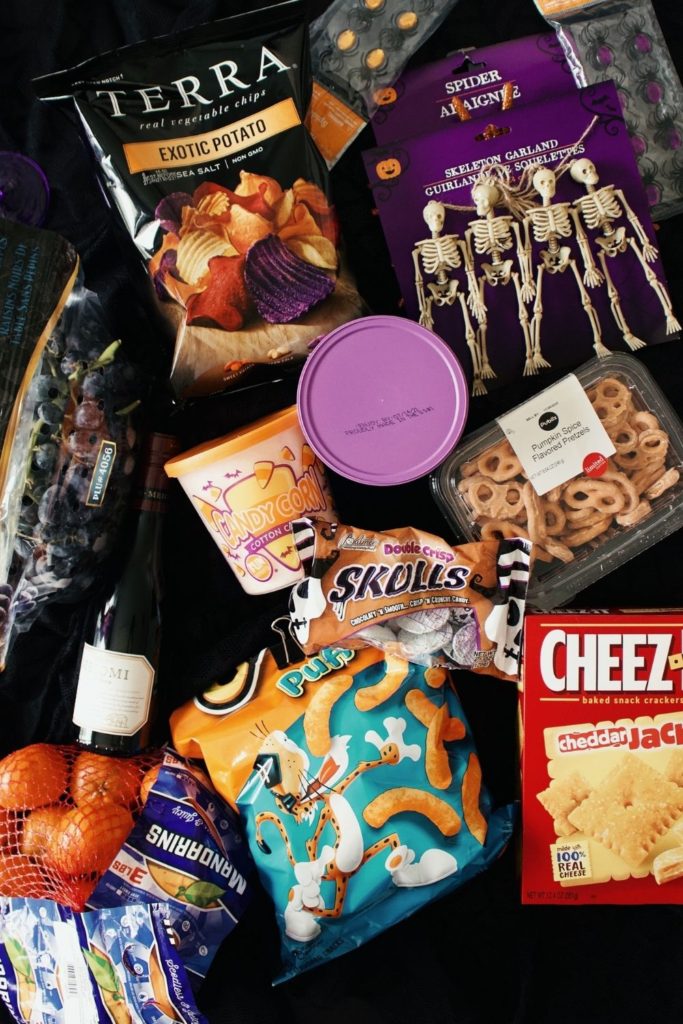
Below are all the supplies I got to create our Halloween themed snack board! We are salty snack lovers so we got lots of salty snacks for our tray.
tip : when loading your board or tray, experiment with laying the food diagonally, in clusters, in a circle pattern and so on, laying everything in a straight line isn’t the worst thing, but it’s also not the best either.
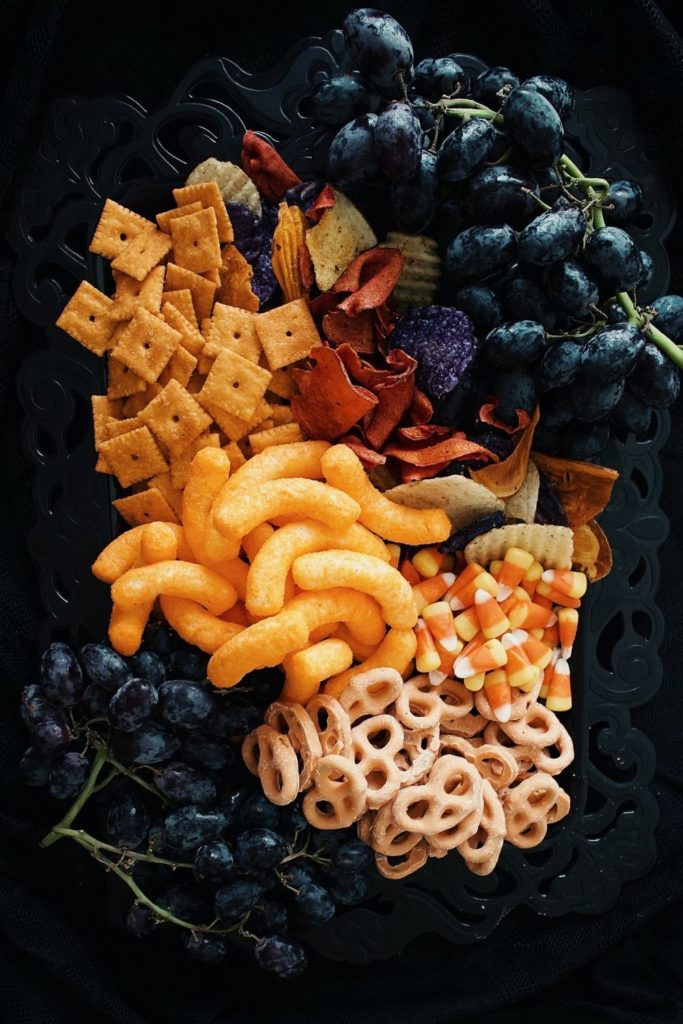
tip: Layer, layer, layer! just like any great sweater and jean jacket combo, every great snack tray has layers. Add a few loan marshmallows, wrapped candies, or fruits among the finger snacks.
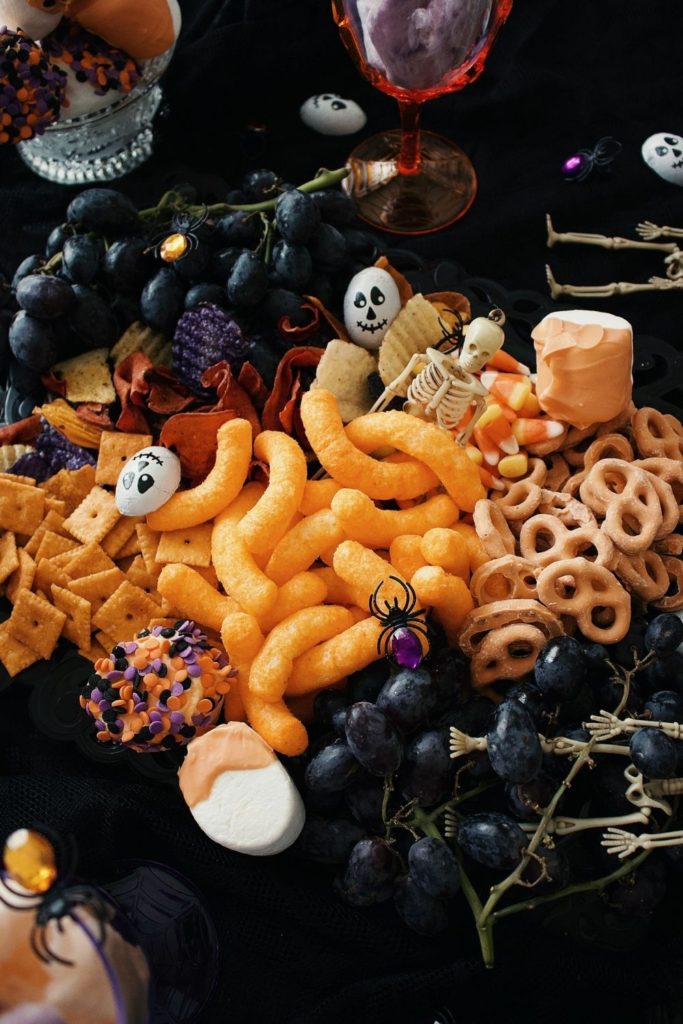

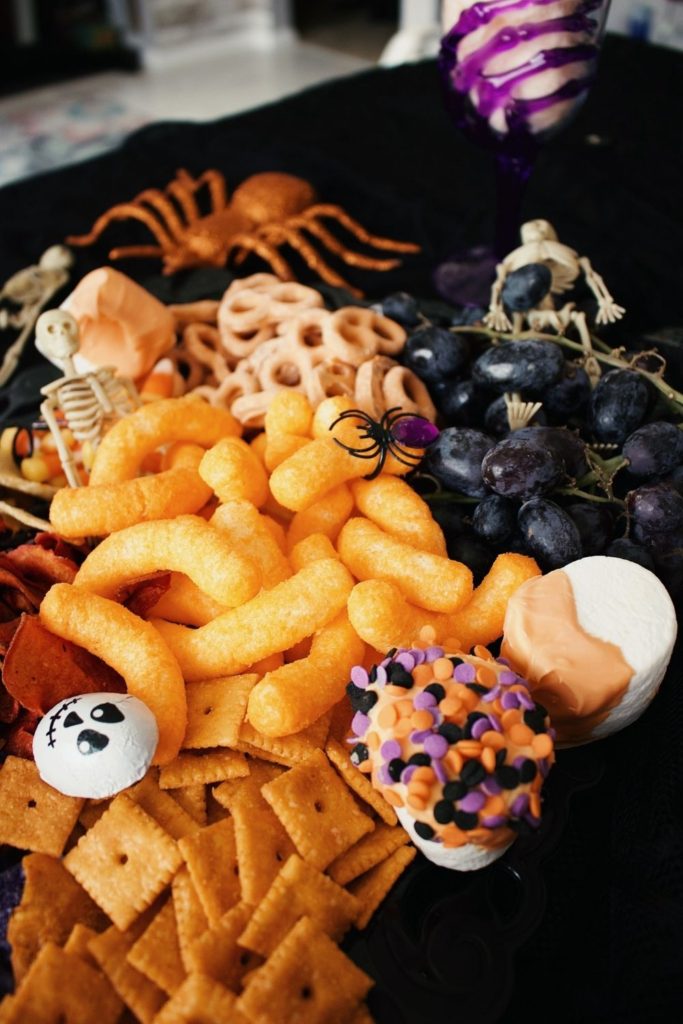
tip: Add in a few spooky touches, even if they aren’t edible, and even if you’re not entertaining guests. You’d be surprised at how much your family, and even your kids will love the extra step. And you’ll be surprised at how much more satisfying it is for you (or at least it is for me) to go all out!
I hope you enjoyed this post! Have a safe and spooky Halloween, friends!
