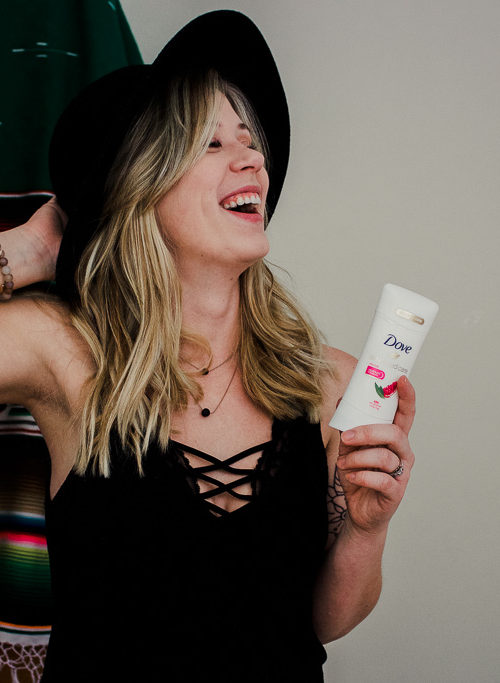
Hello my friends, and HAPPY NEW YEAR!
This is one of my FIRST blog posts of 2021 and honestly, there’s really no better way to start the year off than with a transformation! Not that I, or any of you need one per-say, it’s just fun to start a brand new year off, with something brand new!
So today I’m sharing all about my first Microblading sesh with Jodi, who also did my permanent freckles – which you can read all about HERE!
From the very first time I saw Jodi (when she did my consultation for my permanent freckles) she has been telling me that we need to get together so she can Microblade my eyebrows. I was like “Okay!” and then I was like “ohhhkayy!” and then finally, I was like “OKAY!! LET’S DO THIS!” And that brings us here!
Overall Thoughts
“Why didn’t I get this done sooner?” “How have I lived so many adult years without my eyebrows being microbladed?” “I LOVE them!” “Well that was easy!”
Step by Step
So one of my favorite things about Jodi, and how she works, is that she not only is a great artist, but she does everything the RIGHT WAY the first time. She doesn’t cut corners, or use cheap product. She is very thorough not only in her actual procedure, but in her pre and post microblading standards for her clients, in order for us to get the best result! So I want to share how everything went step by step, from start to finish.
Step 1 : Pre – Microblading
Jodi and I planned my appointment over a month out, so I had quite a while to make sure my skin was in perfect shape for Jodi to work her magic. And by that I mean that I stopped using any skin products I had with Retinol and chemical exfoliators (like salicylic acid) in them. Some other pre micoblading skin musts (that I didn’t need to worry about because I don’t every get these treatments anyways) are no microdermabrasion, no chemical peels, no laser treatments or facials. Avoid getting sunburnt prior to your appointment, and no plucking or shaping of the brows within 3 days of your appointment.
Also make sure to avoid things like lots of caffein, asprin, ibuprofen, alcohol and other blood thinners in the few days leading up to your appointment!
Over all, the only things I had to do to prep were cut out caffein, and chemical exfoliators, because nothing else applied to me. But everyone will be different.
Step 2 : Numbing
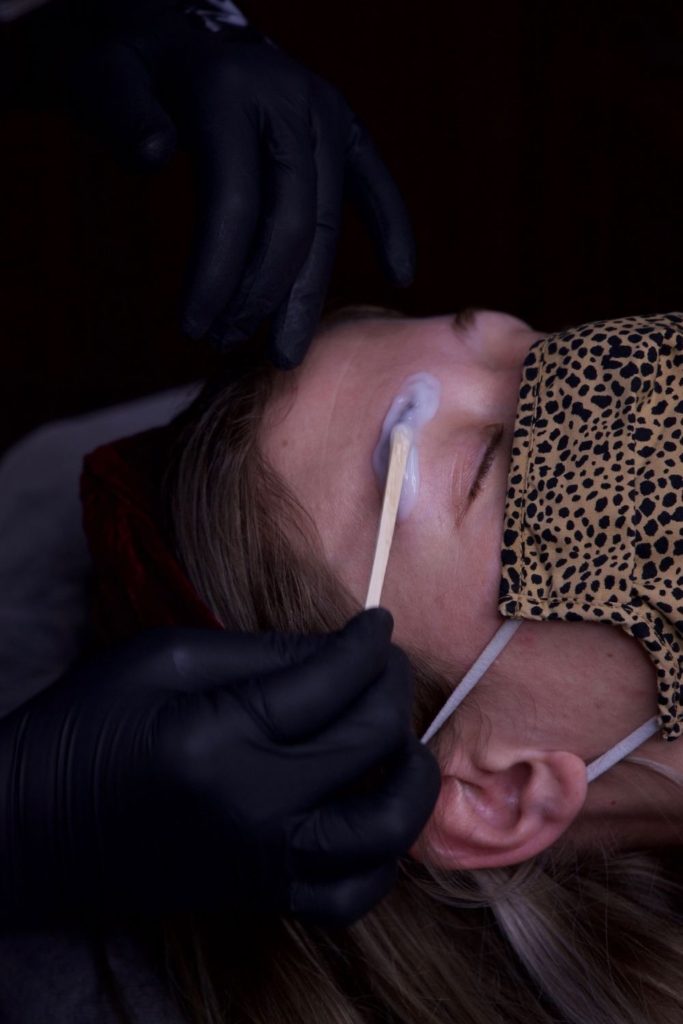
I don’t know the brand name of what Jodi uses, but whatever numbing cream she uses works REALLY well! When I tell you this was pain free, I’m not kidding. My daughters sharp “little kid nails” hurt worse than getting my brows done. No joke.
Step 3 : Color Selection
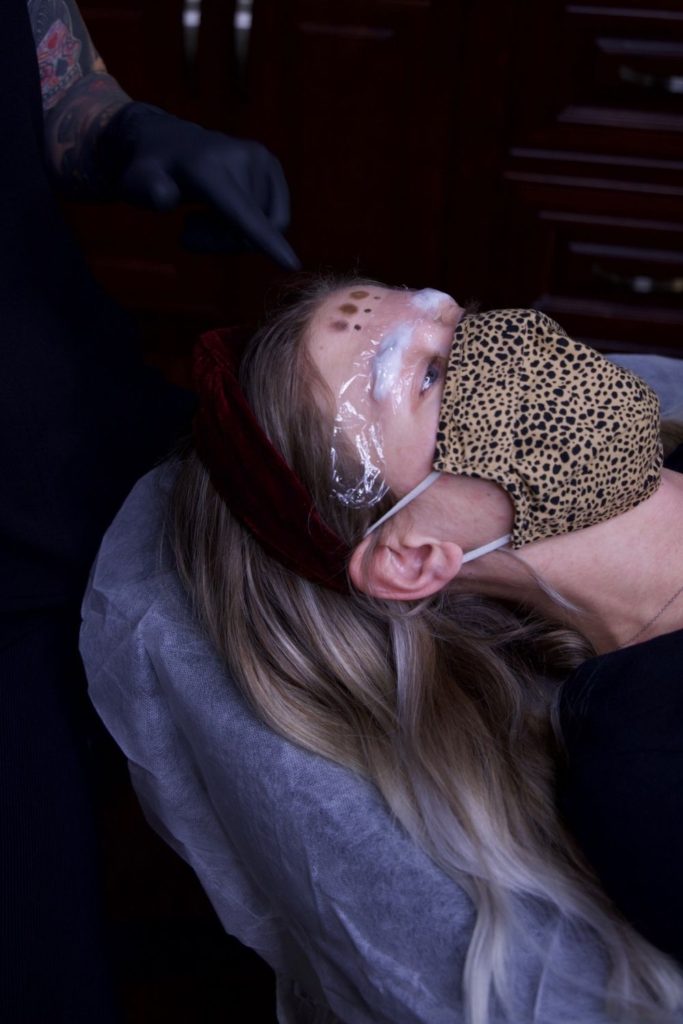
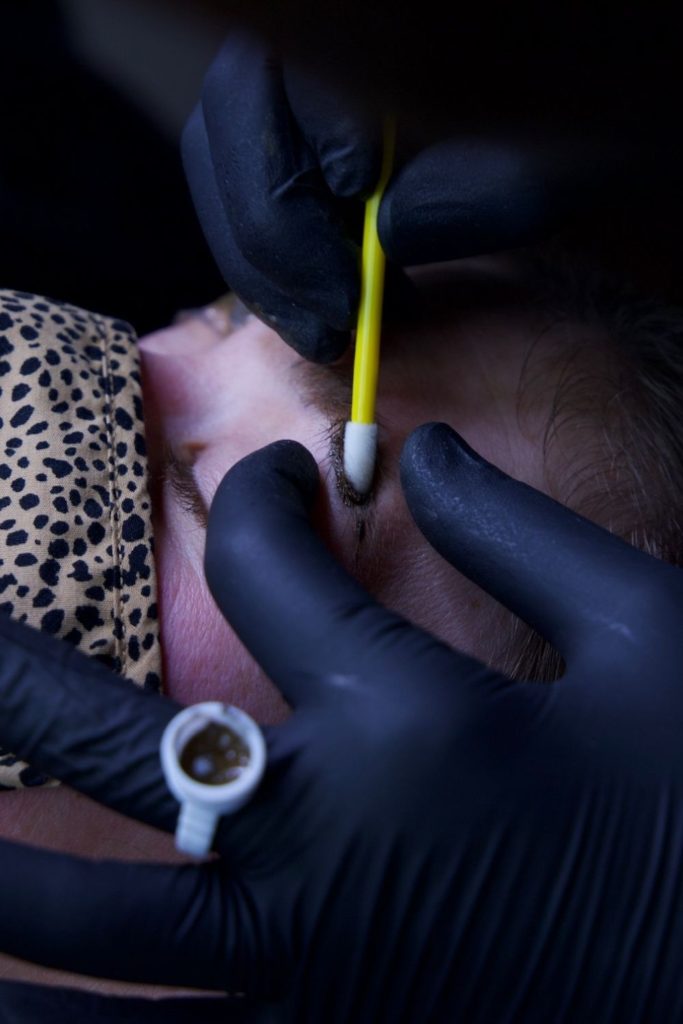
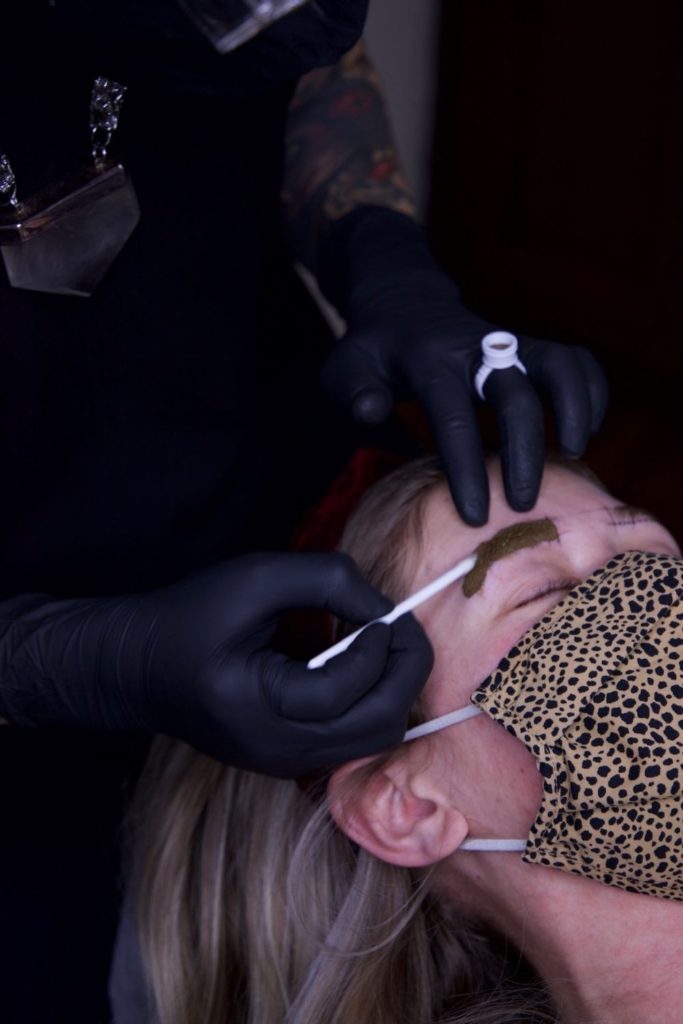
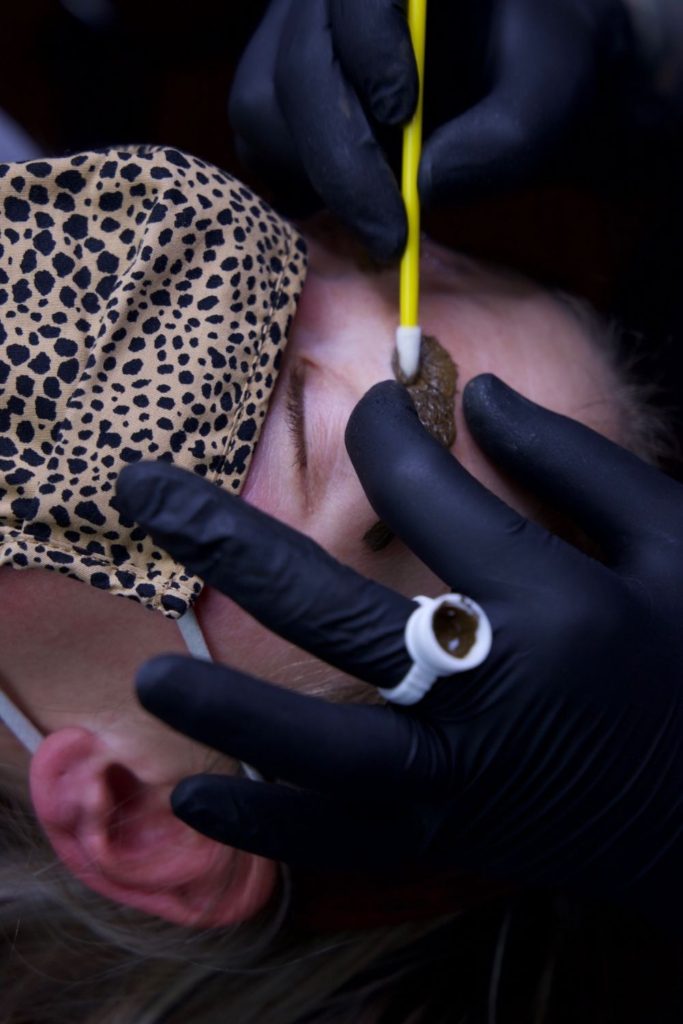
Jodi and I selected my brow color together. She put 3 different color options on my forehead, one that was the closest color match to my natural brow color, one that was darker, as if I had put make up on, and one that was a tad warmer in color than my natural color. We went with the one that matched my brows perfectly, as I just wanted a very natural “Hi! I actually have more than 10 eye brow hairs!” look. And since I only wear make up a few times a week, I didn’t want my brows to look too dark when I’m not in a full face of make up.
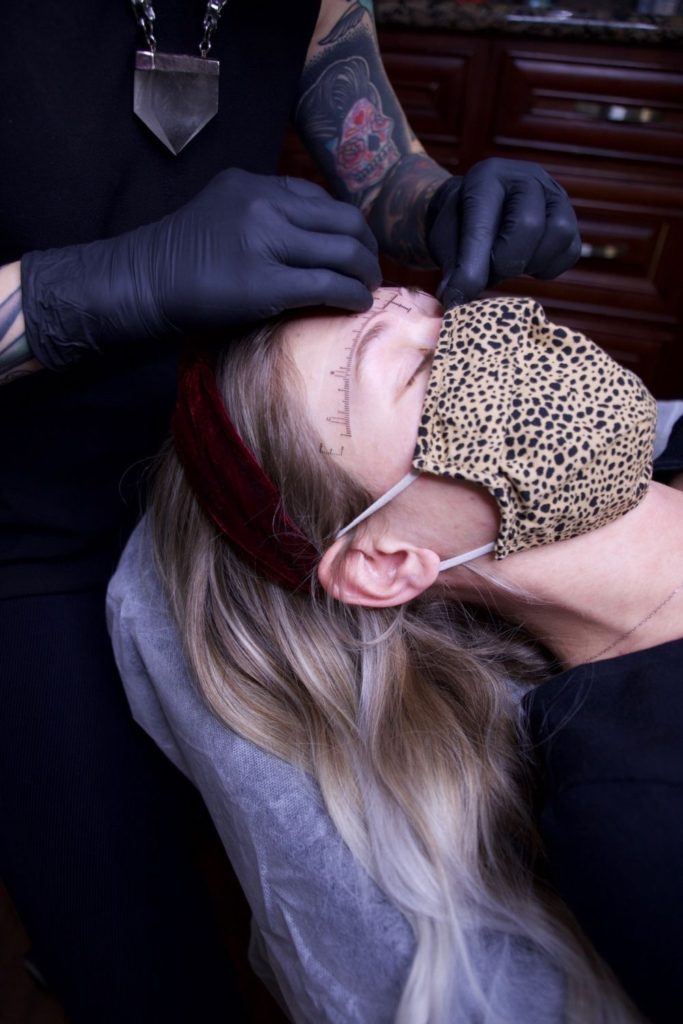
Step 4 : Map City 8itch, Map, Map City 8itch
To me this was the coolest part! Jodi used some measuring tools to draw all these lines on my face and because she is the professional, not me, was able to turn a bunch of lines, into some gorgeous brows! It’s just so cool to me seeing the actual “calculation” behind microblading, and knowing that it isn’t just “Oh I think this is what will look good, let’s cross our fingers!”
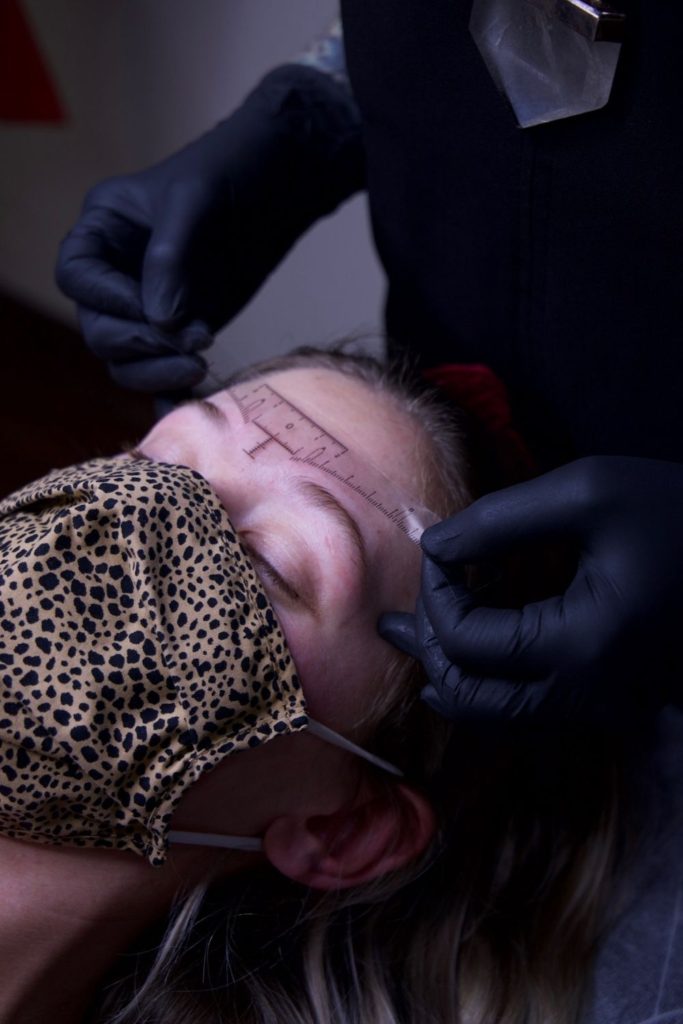
Step 5 : Time to Blade Those Brows!
I was a little nervous for this part to be honest. Jodi did my freckles, even a few without numbing, I have piercings and tattoos, but I was still nervous! I mean, I have heard horror stories, ya know? BUT LET ME BE VERY VERY CLEAR ON THIS – it was SO easy, and practically PAINLESS. The numbing cream did it’s job! I’d say total pain was literally a 1.5/10. And the actual blading didn’t really take much time at all! I was honestly surprised at how little time it took.
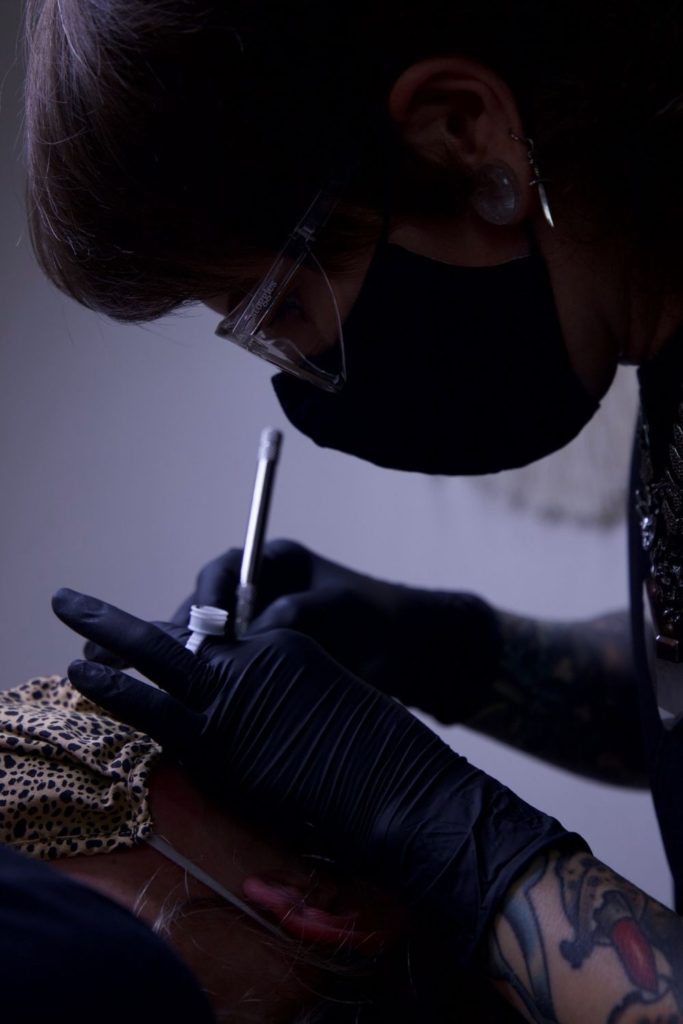
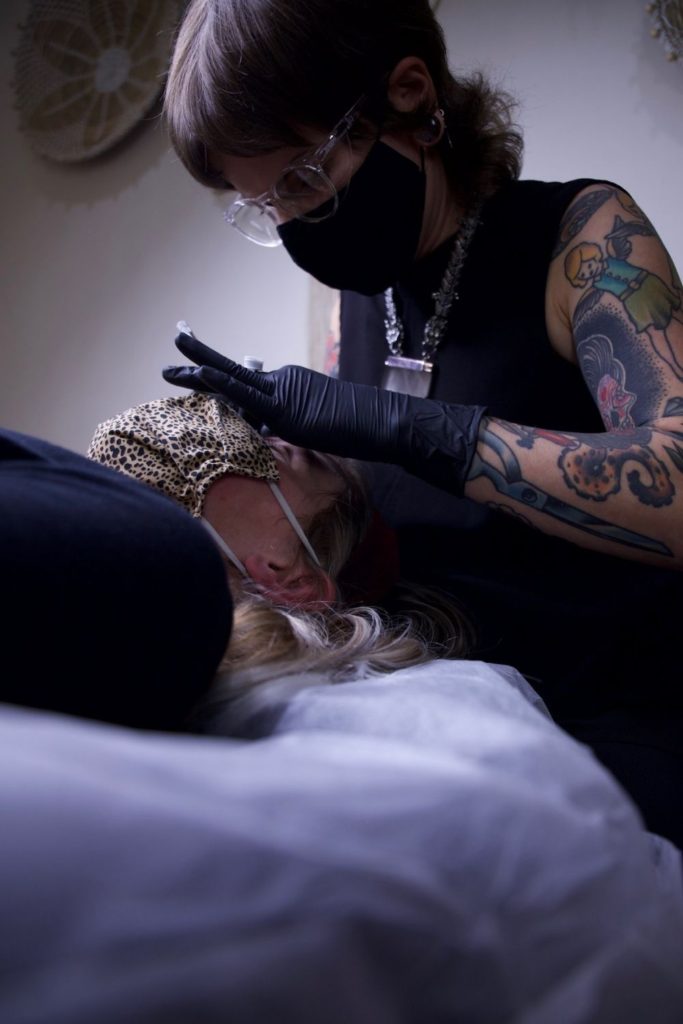
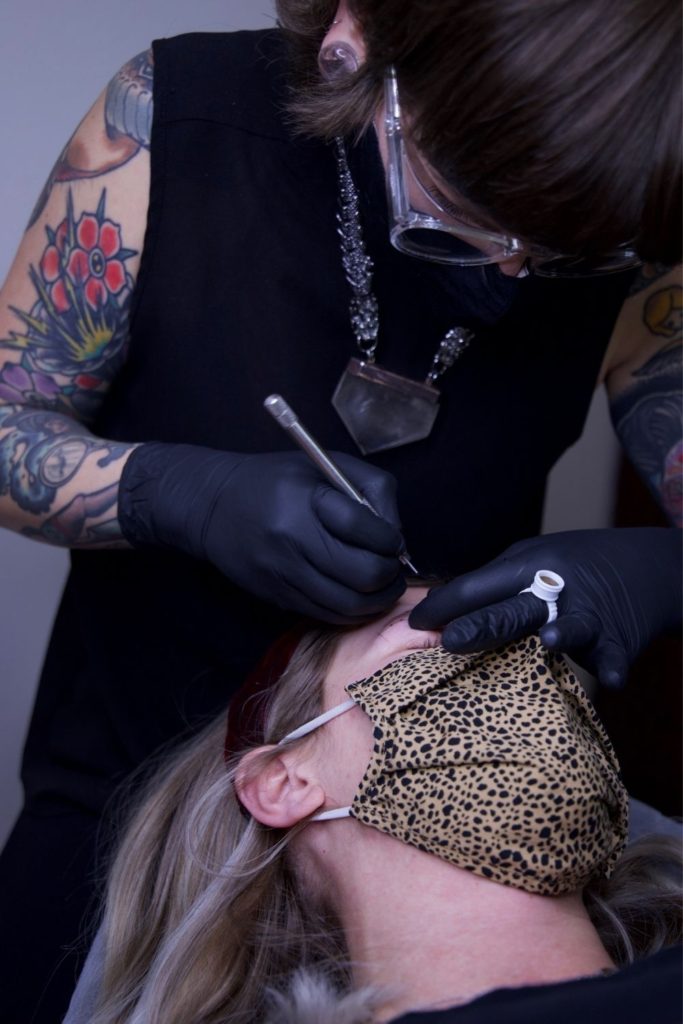
Step 6 : Post Microblading
Before we get into the details of aftercare, I feel it’s important to say that I really, REALLY thought I’d be walking out of their looking like Bert from Sesame Street. THANKFULLY that was not the case!
Pain – I really didn’t have much pain, swelling or scabbing afterwards. The pain I did have was only if I accidentally rubbed my brow or if my shirt rubbed against it when I was putting it on and off. And it felt just like how your shirt feels rubbing against your skin when you have a sunburn, and not even a bad one. Total pain during healing I’d say was a .5/10.
Aftercare – Aftercare was pretty easy, although there were quite a few things to remember. Cleaning the brows twice a day with antibacterial soap, and cold water. No working out, sweating, saunas, hot showers/baths, no make up on the brows and no sun exposure. As well as avoiding those same skincare products and procedures (facials and laser treatment etc) as during the weeks leading up to getting the brows done.
 It’s been about 4 weeks since I got my brows Microbladed and I’ll be heading in for my second appointment in a week! As of right now, I’m thinking I want to have Jodi go a little heavier on the ends of my brows, that’s the part that doesn’t really grow hair naturally and some days I still feel like I want to fill them in. Overall I am 100% glad I got them done, and I can’t wait to see what they look like after my second appointment! Two appointments is standard with Microblading, so don’t be put off by that. I will have an update once my brows are healed the second time around!
In the meantime here is Jodi’s contact info if you want to make any appointments!
